
Pre-Score Appender
Oracle Marketing Cloud - Eloqua
Data Appender
Subscription RequiredThe Pre-Score Appender app is a premium app and requires a subscription. To see subscription options or to start a trial, visit our AppCloud. If you don't have an AppCloud account, you'll need to create one first...but no worries, this app may require a subscription but you can create an AppCloud account for free!
App Overview
The Eloqua lead scoring engine is great but sometimes, you need to score using more complex rules, like looking at past purchase history activity. The pre-score appender app lets you use data from a custom object to build pre-scoring rules allowing you to debit and credit a cumulative score. This score value can then be used as a scoring criteria. The pre-scoring value can also be used as a threshold in a campaign decision or when building segments.
App Installation
To install the Relationship One Pre-Score Appender app:
- Click on the install URL below:
IP AllowlistingIf you have Eloqua IP allowlisting enabled, please add AppCloud IPs to your allowlist - 44.236.213.84 and 44.238.209.213.
Please note, the installation process must be done by a user with Eloqua Customer Administrator rights.
-
Log into Eloqua with your Eloqua Credentials, if required.
-
Click Accept and Install to add the app to your Eloqua instance.
-
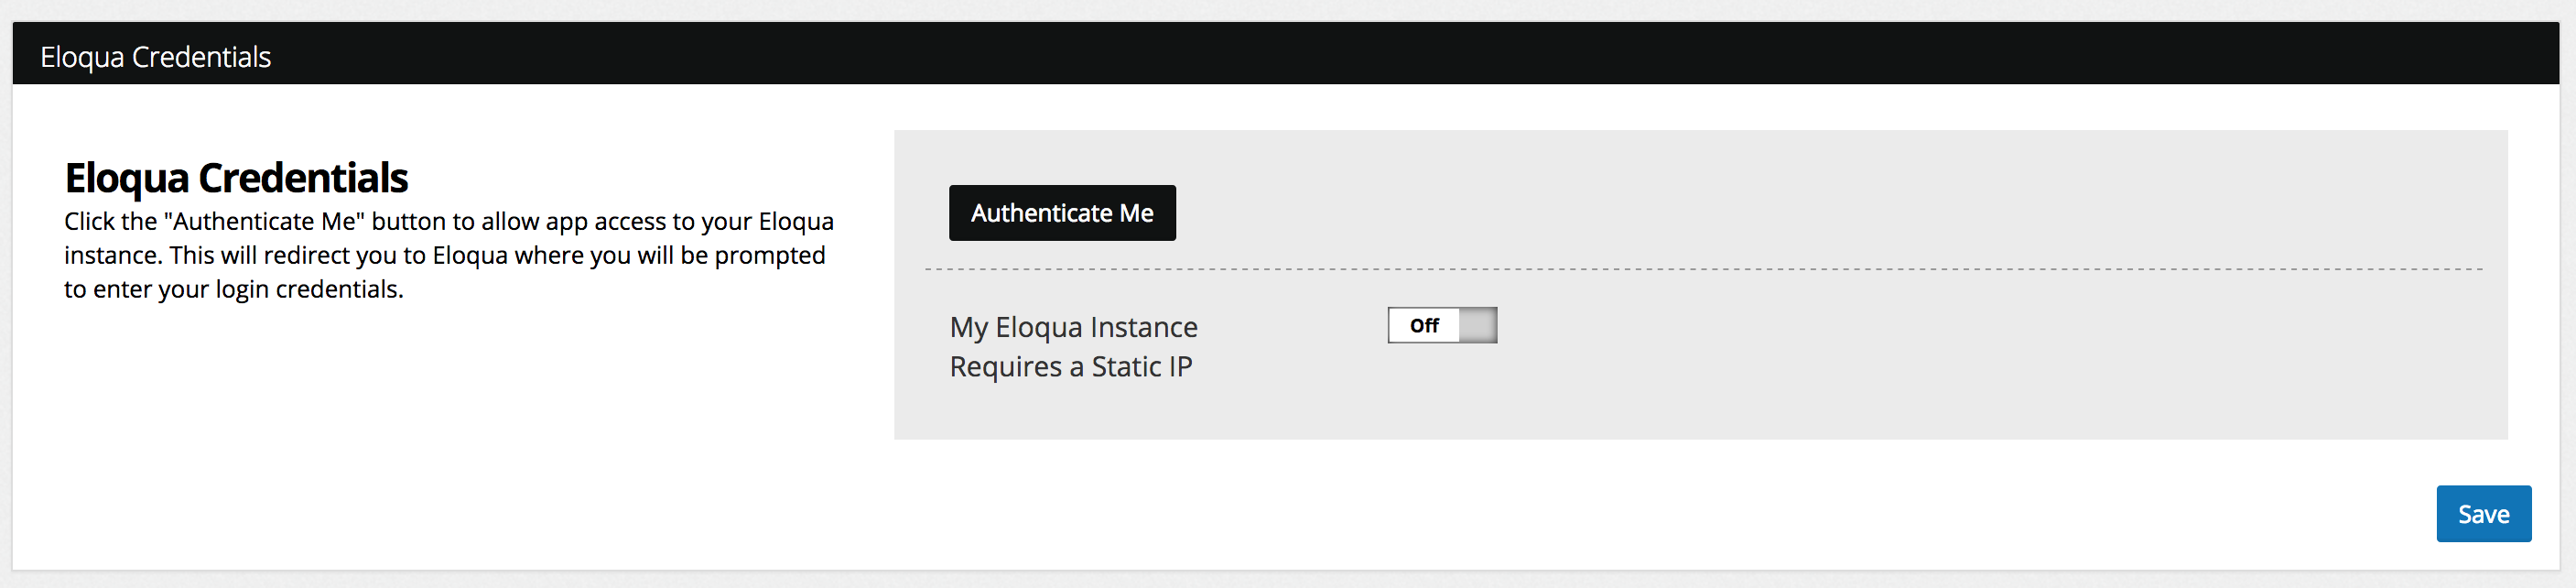
Click Authenticate Me to grant permission for the app to communicate with Eloqua on your behalf.
-
Click Accept or switch users to allow Eloqua to access the app.
-
Click Save to finish the app installation process.
The Relationship One Pre-Score Appender app is now installed in the App Catalog inside of your Eloqua instance which can be found by clicking on Apps under the Settings menu in the Platform Extensions section. You can select the app to view the app description, modify the configuration settings, reinstall, or uninstall it. You can also check its status and dependencies.
App Configuration
Step 1: Add the Cloud Action
Within the Program Canvas (Contacts only), find the Pre-Score Appender Cloud Action in the Actions menu area. Double-click on or drag the Pre-Score Appender Cloud Action onto your canvas workspace.
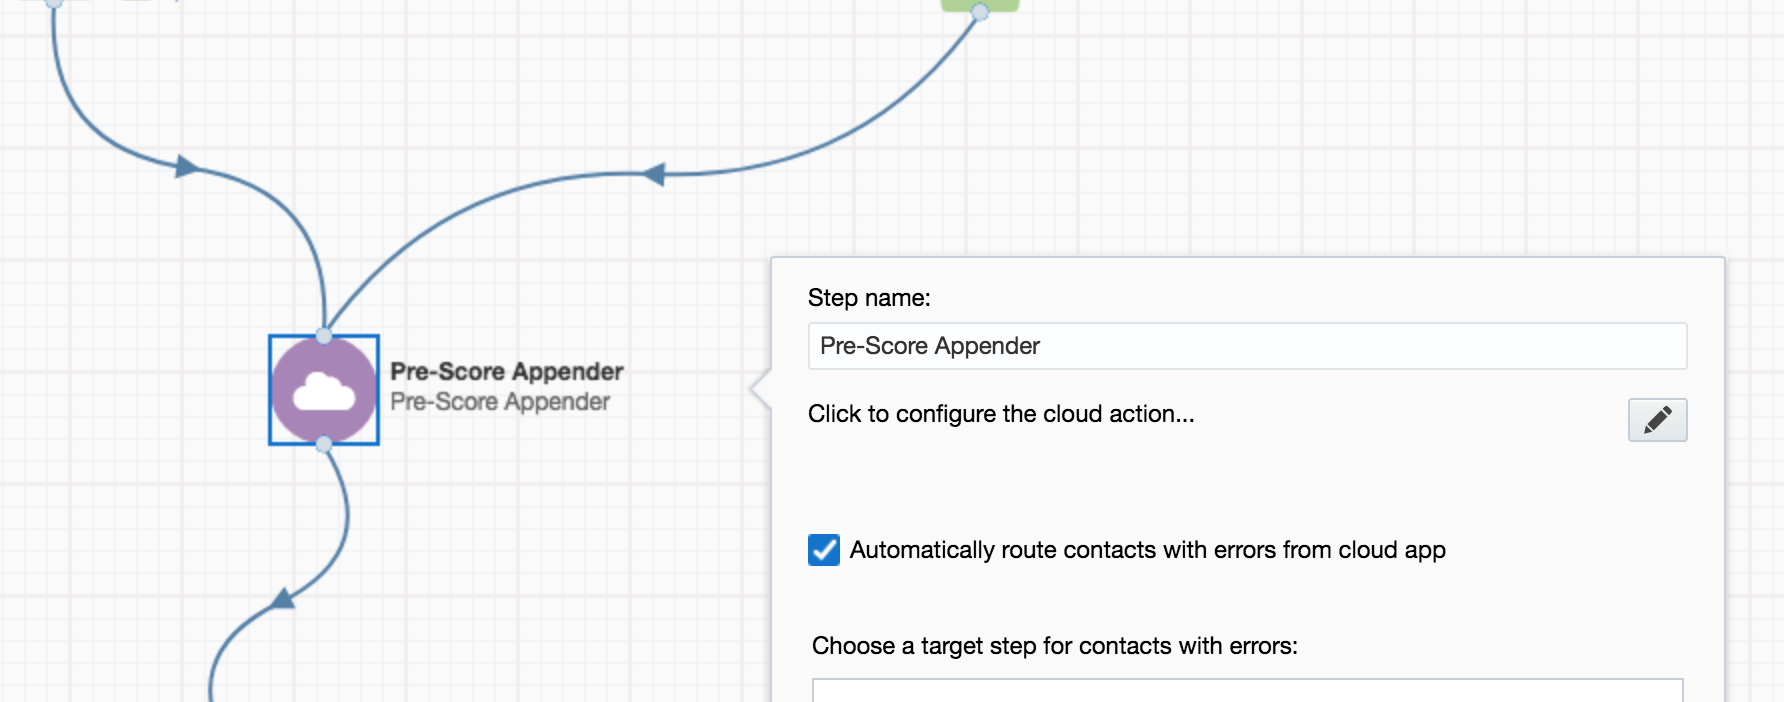
Double click on the cloud action and click the configure button.
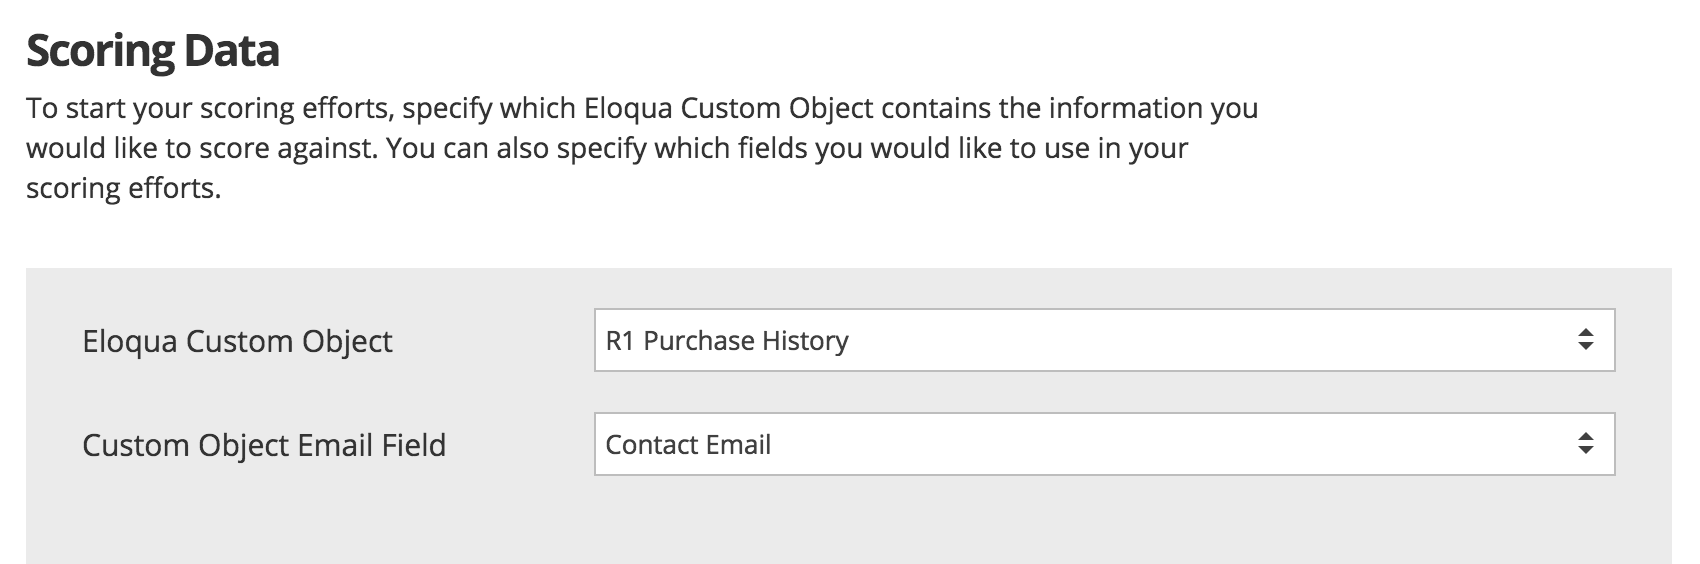
Step 2: Select The Data to be Used for Scoring
Select the “Custom Object” that contains the information you would like to score against.
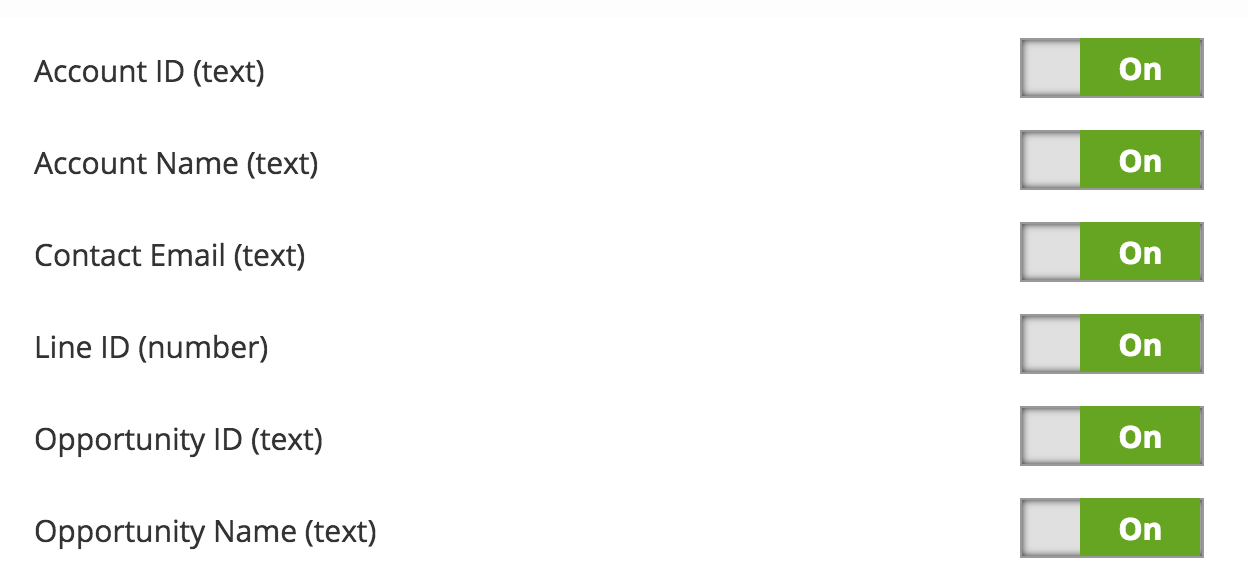
Next, specify which fields you would like to use in your scoring efforts. We do this so we can optimize the data cache the app creates. Keep in mind, you if you make changes to your field selection in the future, you may need to rebuild your scoring rules. User the toggle to enable or disable the desired fields.
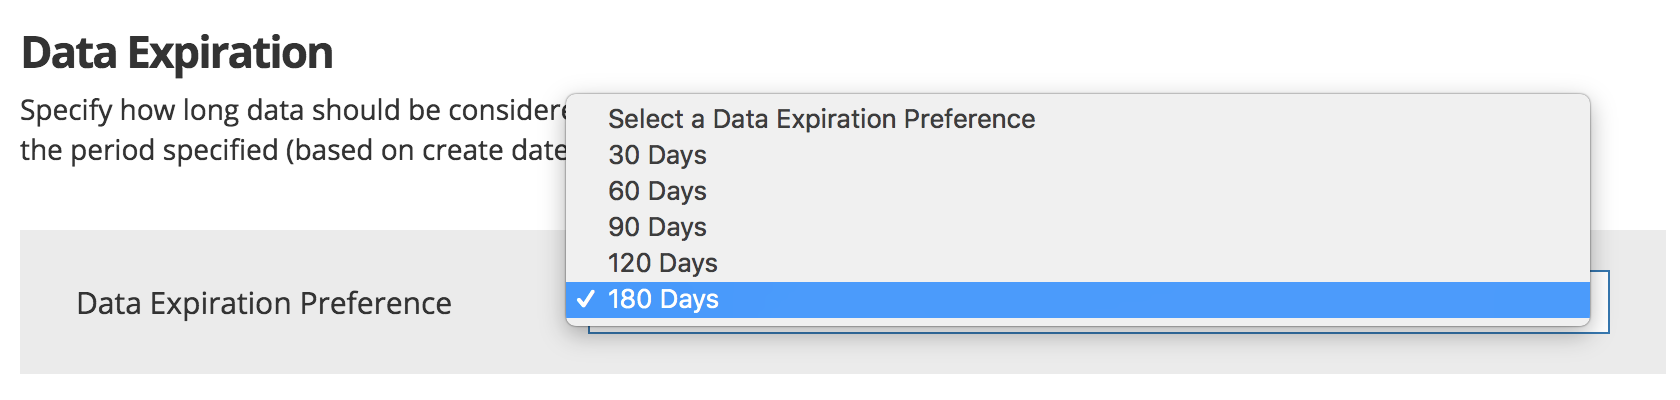
Next, specify how long data should be considered, up to 180 days, when scoring. Data older than the period specified (based on the record create date) will be purged from the scoring cache data table.
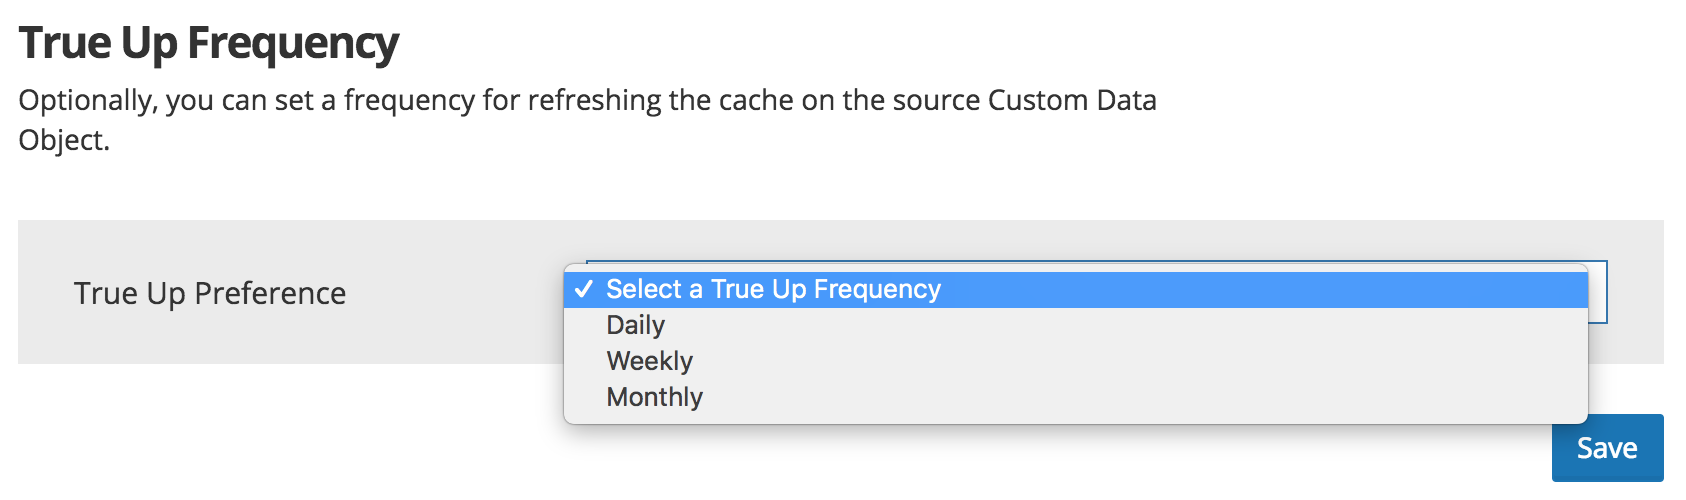
Optionally, you can set a frequency for refreshing the cache data table on the source Custom Data Object. Use this feature, call the "True Up Frequency" if you delete source data records. This will remove them from your cache data table, or true up your data, so that deleted record don't impact score values.
Click Continue.
Step 3: Create Scoring Criteria
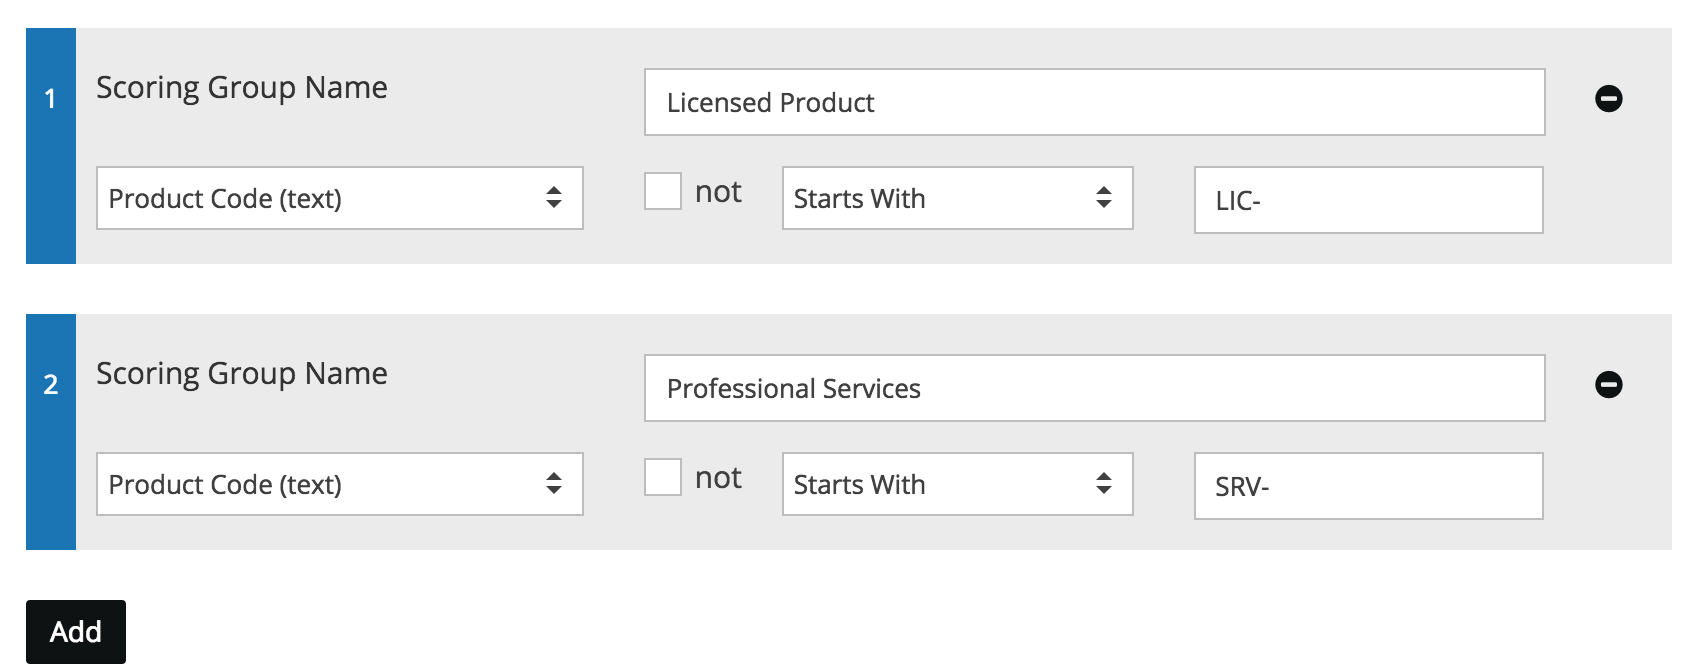
Scoring is done by building a series of scoring rules. Rules are created using scoring criteria using your source data fields. If you find yourself using the same criteria over and over, you may choose to create a Scoring Group which allows scoring to be done against attributes grouped together. To create a Scoring Group, set the desired grouping criteria by choosing the scoring data field, comparison logic, and value. To add additional Scoring Groups, simply click the Add button. To remove a rule, click the icon.
To define a scoring rule, click the Add button to set a name and score value then click the mapping icon () icon to configure the rule criteria. To remove a rule, click the icon.

Set the desired scoring criteria by choosing the scoring data field or group, comparison logic, and value for the desired time frame. To use a Scoring Group, click the icon. To switch back to using a data field for the scoring criteria, click the icon.
To add additional criteria, simply click the Add button. To remove criteria, click the icon.

If you have more than a single scoring rule criterion, set the desired grouping logic. You can use a simple AND or OR logic or complex logic with custom syntax.

Simple AND or OR grouping logic.

Complex grouping logic syntax.
Once you have added all of your scoring criteria click the Done button to return to your scoring rules list. Give your rule that value that should be added (positive whole number) or subtracted (negative whole number) from the score that will be appended. Once you have added all of your scoring rules, click the Continue button. When records are processed by the app, a total score will be created by adding and subtracting values based on your scoring criteria.
Step 4: Specify Your Import Settings
Your scoring value can be saved using an Eloqua Contact field or in a Custom Object field. If storing the score on the Eloqua Contact, select the Contact field that would be used.
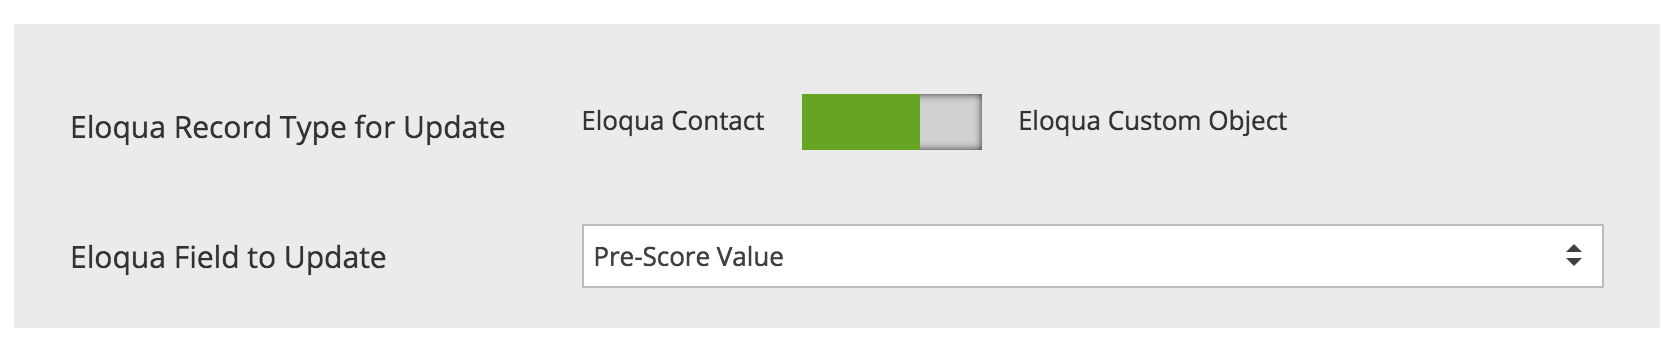
If storing the score within an Eloqua Custom Object, select the desired Eloqua Custom object, the Custom Object email address field and the field that should be used for storing the score.

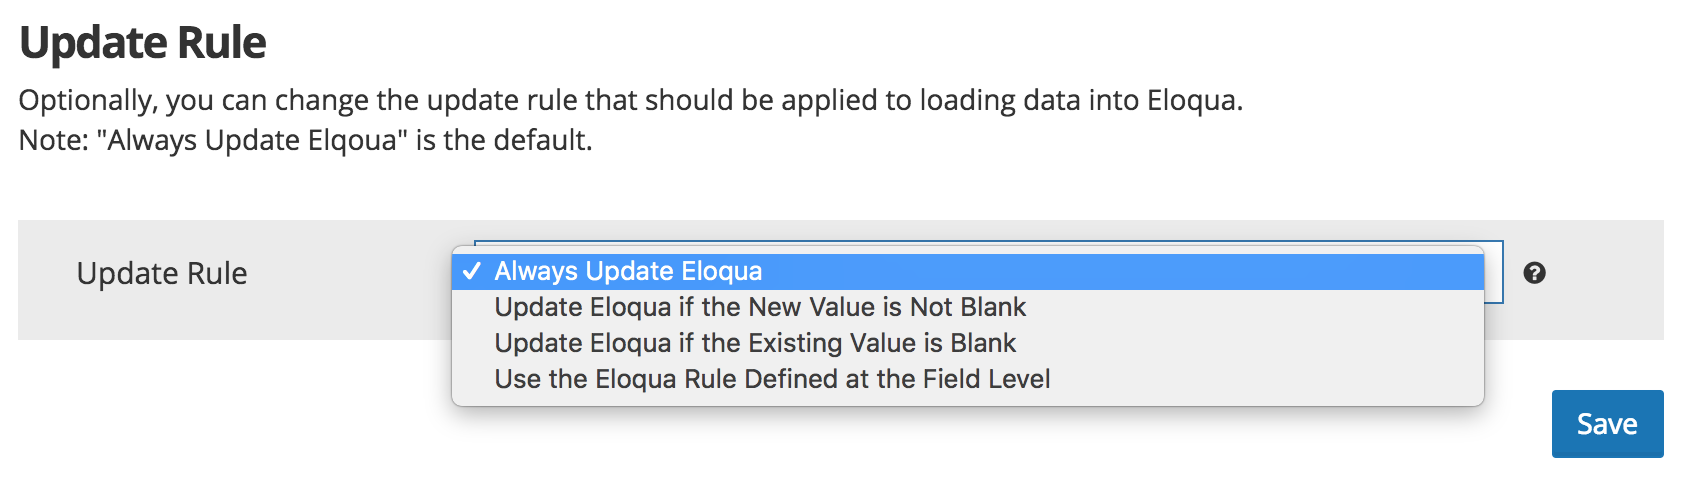
Optionally, you can change the default update rule that should be used when loading data into Eloqua. By default, mapped Contact and Custom Object fields will always be updated, but you may rather only update when the new value is not blank, if the existing Eloqua field value is blank, or update fields based on the fields individual settings.
Click Continue.
Your Pre-Score Appender Cloud Action has now been configured and is ready for use. You can close the app configuration window by clicking the X in the upper right corner or you can click Back to modify your settings.
The Cloud Action will automatically enable when you activate the Program. Remember, there may be a slight delay when processing the first records as the cache gets created.
Updated 8 months ago