
Custom Object Query Builder
Oracle Marketing Cloud - Eloqua
Data Cloud
App Configuration
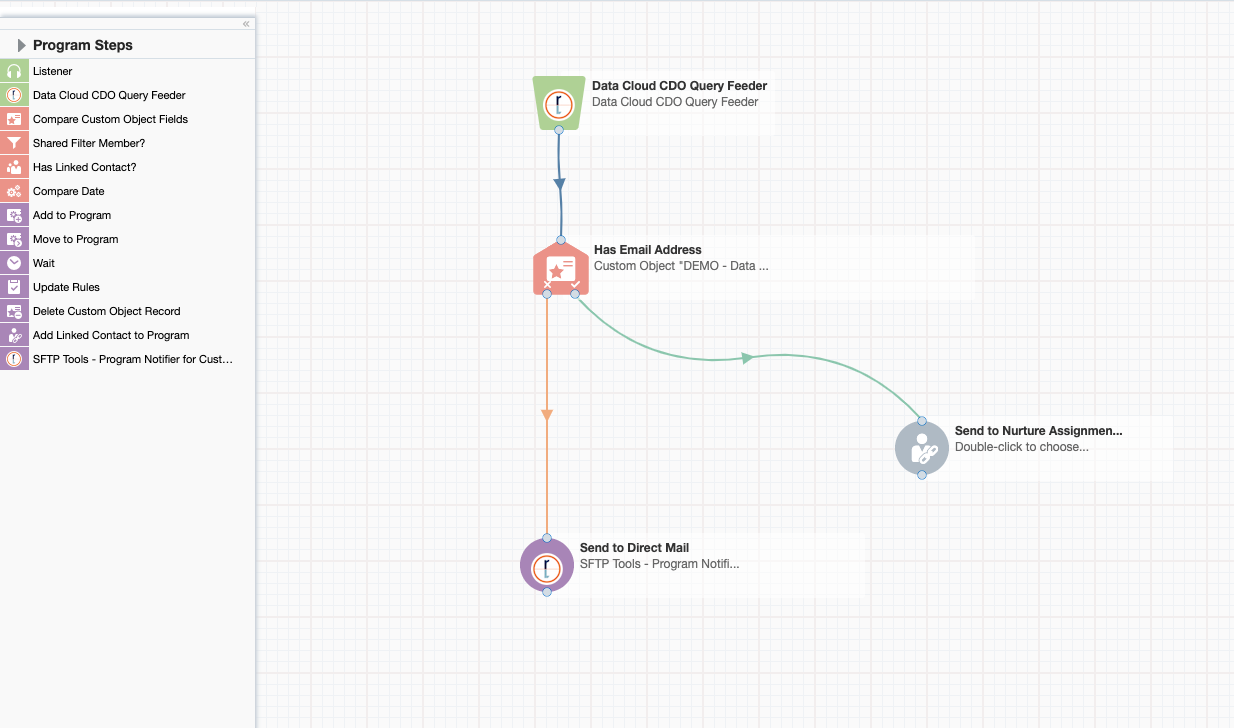
Step 1: Add the Data Cloud Custom Object Query Builder
Within the Eloqua Program Canvas, find the Data Cloud CDO Query Builder in the Data Sources menu area (the green-colored options). Double-click on or drag the Data Cloud Query Builder onto your canvas workspace.
Step 2: Build a Query
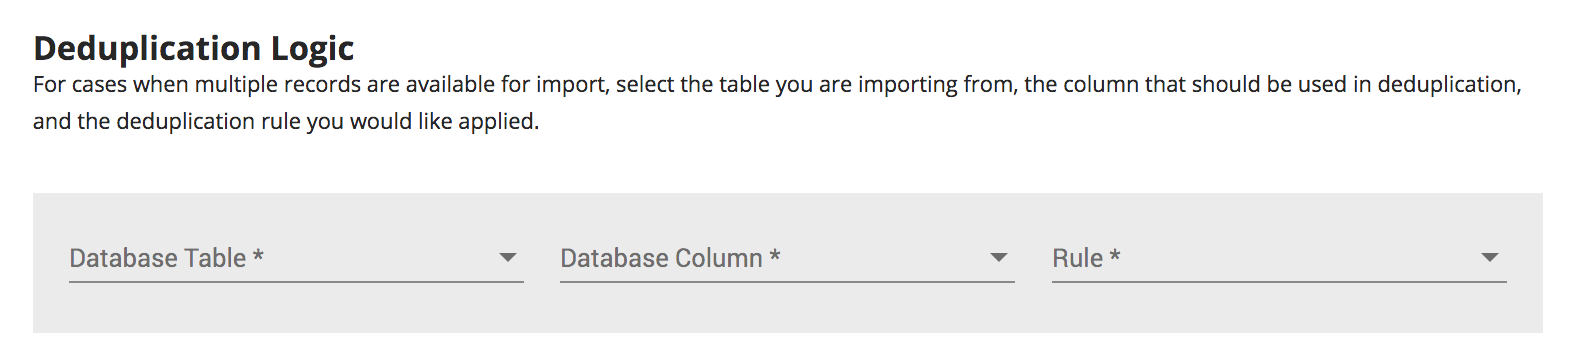
To begin the configuration of the app, double-click on the app step on the canvas. When you click on the configuration button (), a new frame will open with configuration settings. Start by adding at least one of the query criteria:
- Database Table - select the desired Data Cloud database table that should be used for the query criteria
- Database Column - select the desired database field
- Comparator - select the desired field comparator - the comparators available are dependent on the database field type
- Value - if relevant, provide a value/date
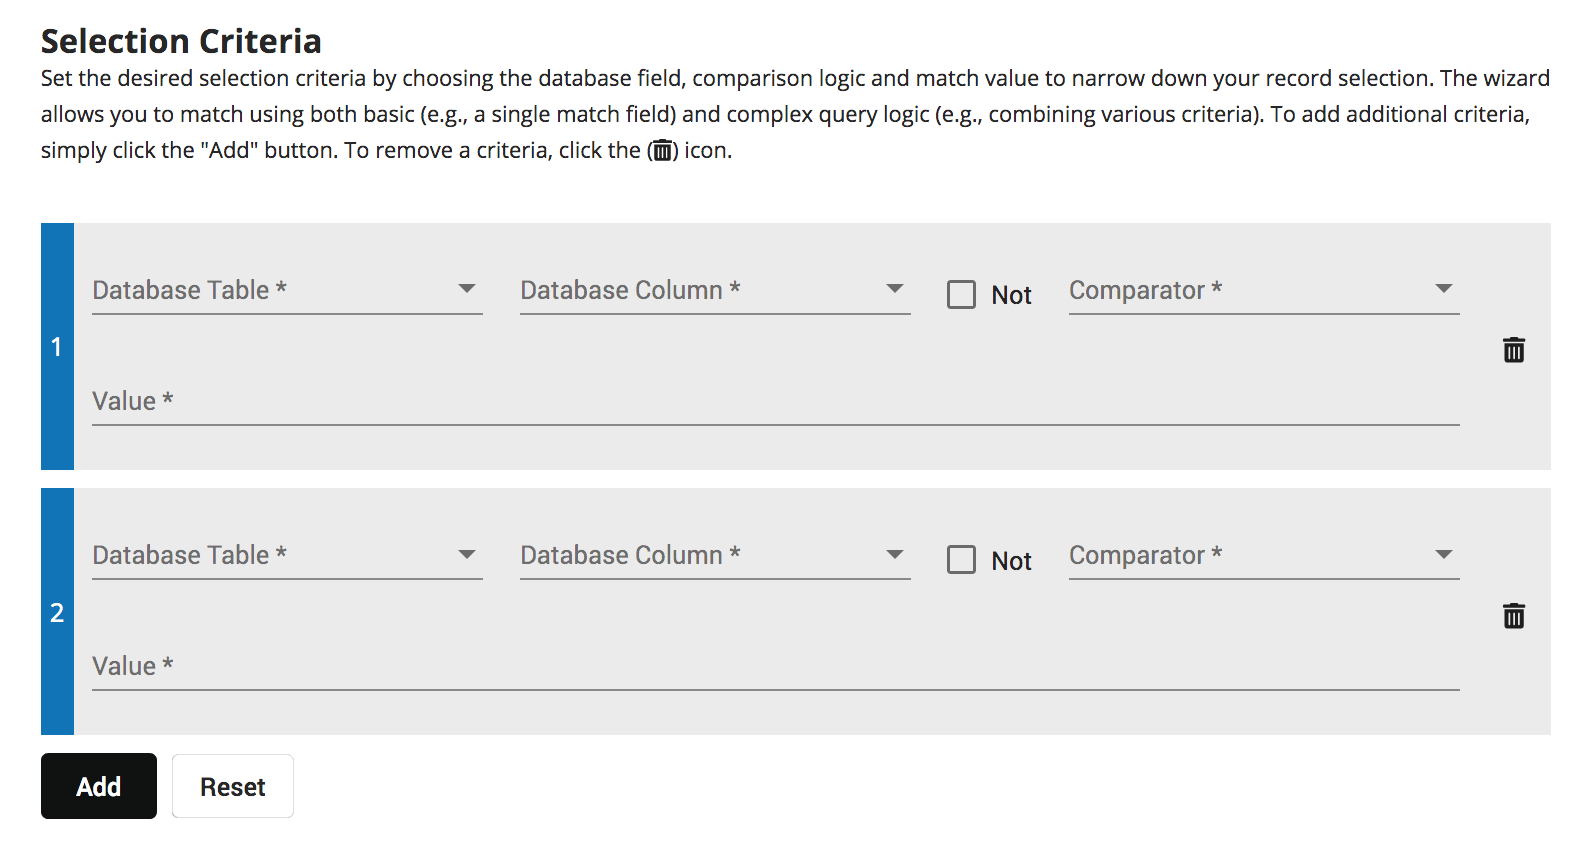
To add other criteria, just click on the Add button. To remove criteria, click on the trashcan () icon. To reset your query criteria and start over, click on the Reset button.
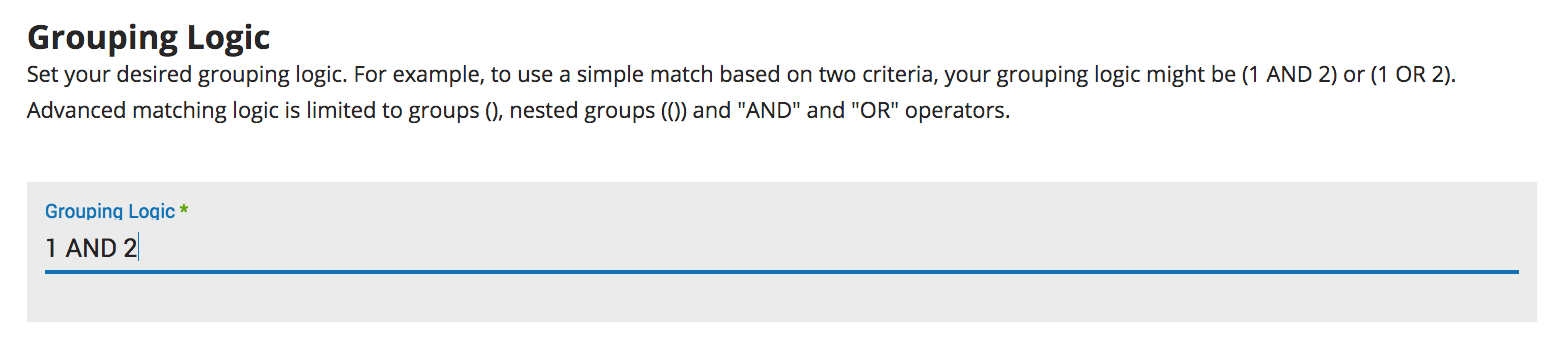
Once you have your desired criteria, set your grouping logic and click Continue.
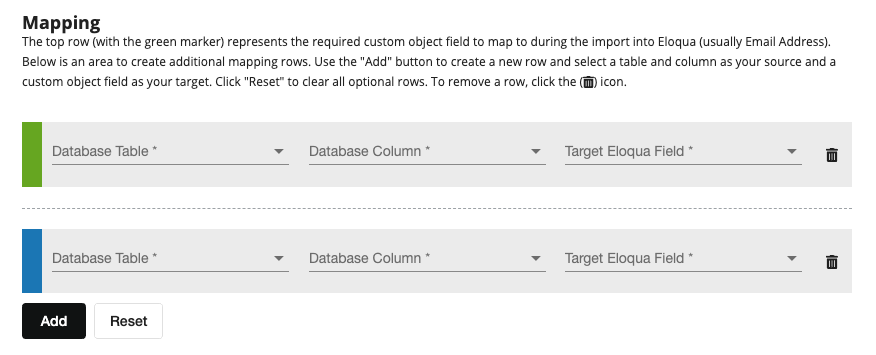
Step 3: Add Field Mapping
Next, you will need to define how records should be imported into Eloqua. In the Mapping section, at minimum, you need to define the database and corresponding Eloqua field that should be used as the unique identifier (this is the top row indicated by the green color). For Eloqua Custom Objects, this is might be an email address or record ID. To add other fields for import, just click on the Add button. To remove criteria, click on the trashcan () icon.
You will need to select a field that should be used as the "winning record" if more than one record is returned for the same contact. Currently, you need to select the Database Table, the relevant field and if the first matched record should be based on ascending or descending order.
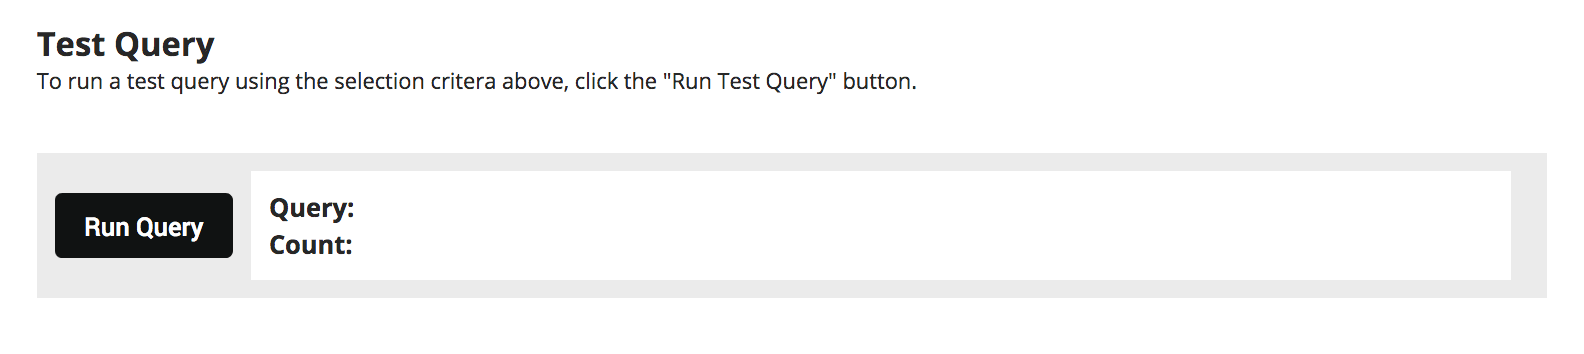
Step 4: Run a Query
To check your query, click on the Run Query button. If your query logic is valid, you will see a count of the number of records matching your criteria. If you see an error, or a blank results box, review and update your query criteria.
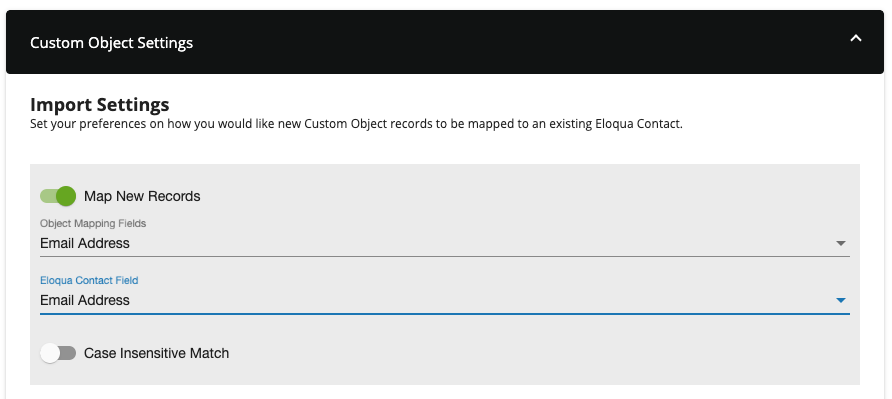
Step 5: Link to Eloqua Contact
Optionally, you can link an import Custom Object record to an Eloqua Contact by selecting the Map New Records toggle under the Custom Object Settings section. You'll need to select the Custom Object and matching Eloqua Contact fields that should be used for mapping records.
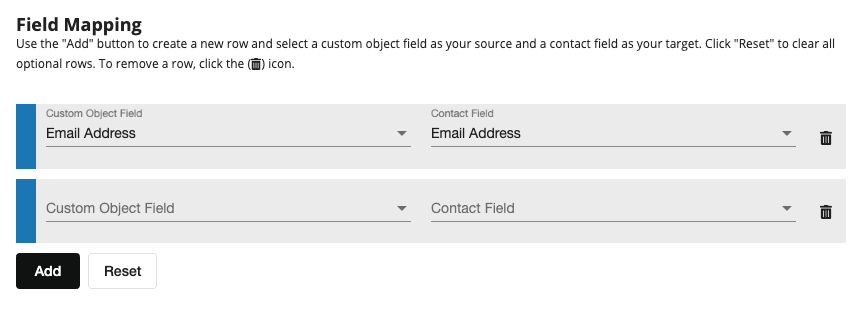
If you'd like to append data from the Custom Object record to the mapped Eloqua Contact, in the Field Mapping area click the "Add" button to create a new row and select a custom object field as your source and a contact field as your target. Click "Reset" to clear all optional rows or, to remove a row, click the trashcan () icon.
Click Save to complete your app configuration. The Data Cloud Query Builder will automatically enable when you activate the Program.
Updated over 1 year ago