
SFTP File Export
Oracle Marketing Cloud - Eloqua Personalization Manager
The Shared Email Manager SFTP Exporter app lets you create a CSV file using Eloqua Custom Object, Contact, static, and Campaign (campaign canvas only) fields and export it to an SFTP server.
App Configuration
Step 1: Add the Cloud Action
Within the Eloqua Campaign or Program Canvas, find the Shared Email SFTP Exporter Cloud Action in the Actions menu area. Double-click on or drag the Shared Email SFTP Exporter Cloud Action onto your canvas workspace.
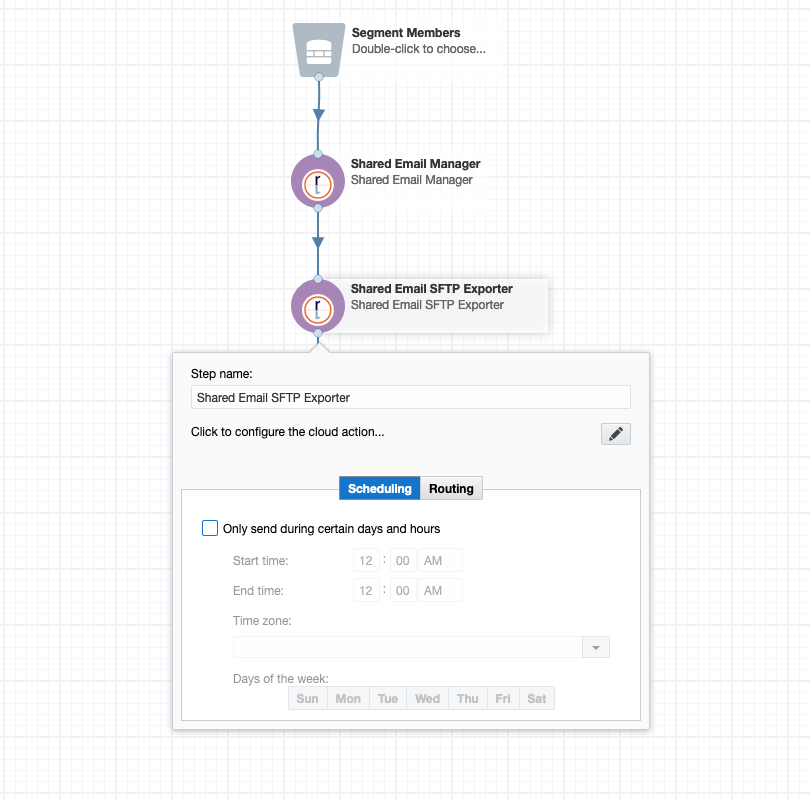
Click the () Configure button to configure your Cloud Action settings.
Step 2: Provide SFTP Credentials
Set up a connection to your SFTP server. You will need to provide:
- The SFTP Domain/Hostname
- SFTP Username
- SFTP Password
- Port Number (typically, Port 22 is set as the default SFTP port)
- The directory path (folder) where the file should be created (note, you can have the app create the folder if it does not exist)
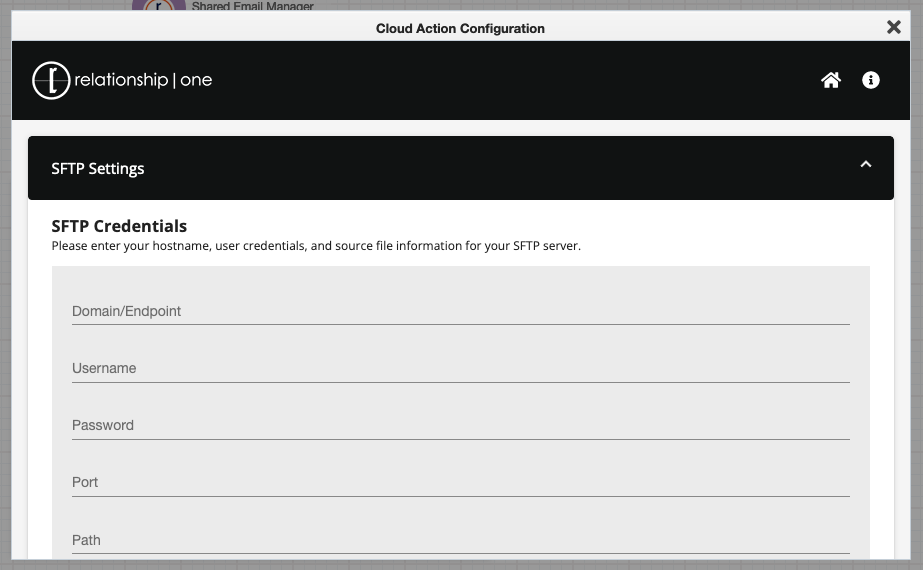
Click Test Connection to verify your settings.
Next, provide the desired export file name. When a new file is exported, it may overwrite a file with the same name on your SFTP server. Optionally, you can append a timestamp to make sure your export file name is unique.
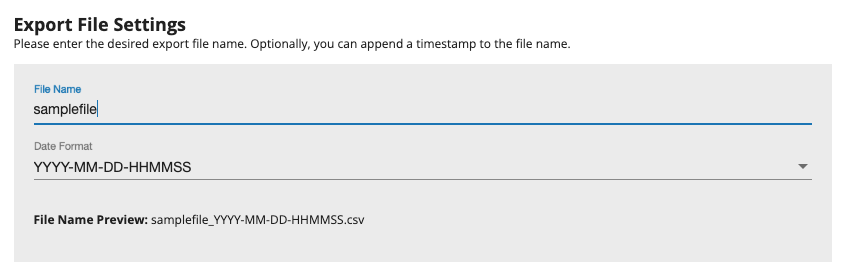
Click Continue to move on to the next step.
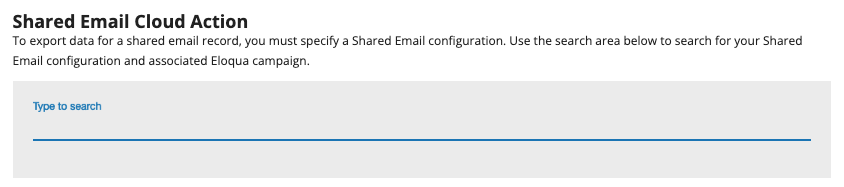
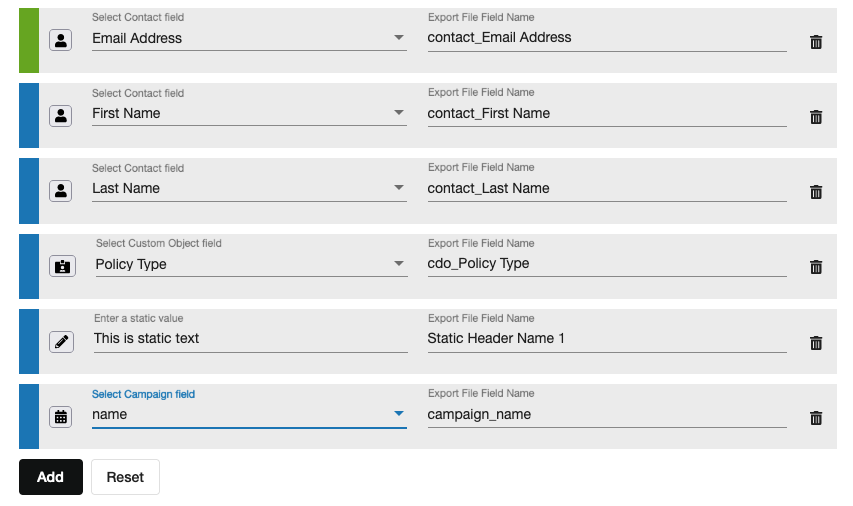
Step 3: Define Field Mapping
To create an export file, specify the Shared Email Manager configuration that should be used.
Next, select the desired Eloqua Custom Object, mapped Contact, Campaign (Campaign canvas only), or static fields to include in the export file. Click the Add button to create a new row (note, at least one field mapping must be specified) and then select the desired field type by clicking on the selector icon. Optionally, rename the export file fields by double-clicking the field name.
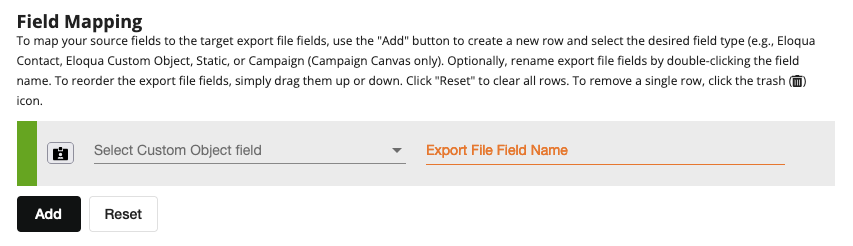
To remove a field, click on the trashcan () icon. To change the order of the columns in the export file, click and drag the fields up or down.
Step 4: Scheduling
Optionally, exports can be scheduled to run at specified times. To start, click the toggle to Enable Export Schedule.

Next, choose your desired time, timezone offset, and days to run the export.

Similar to field mappings, you can add another schedule by clicking the Add button or remove a schedule by clicking on the trashcan () icon to the right of the schedule.
Click Save to complete your app configuration.
Updated over 1 year ago