
Content Clipper
Oracle Marketing Cloud - Eloqua
Campaign Enhancer
Currently, the Content Clipper app is in controlled availability. To request access to this app, please submit a support request or contact your Relationship One account manager.
App Overview
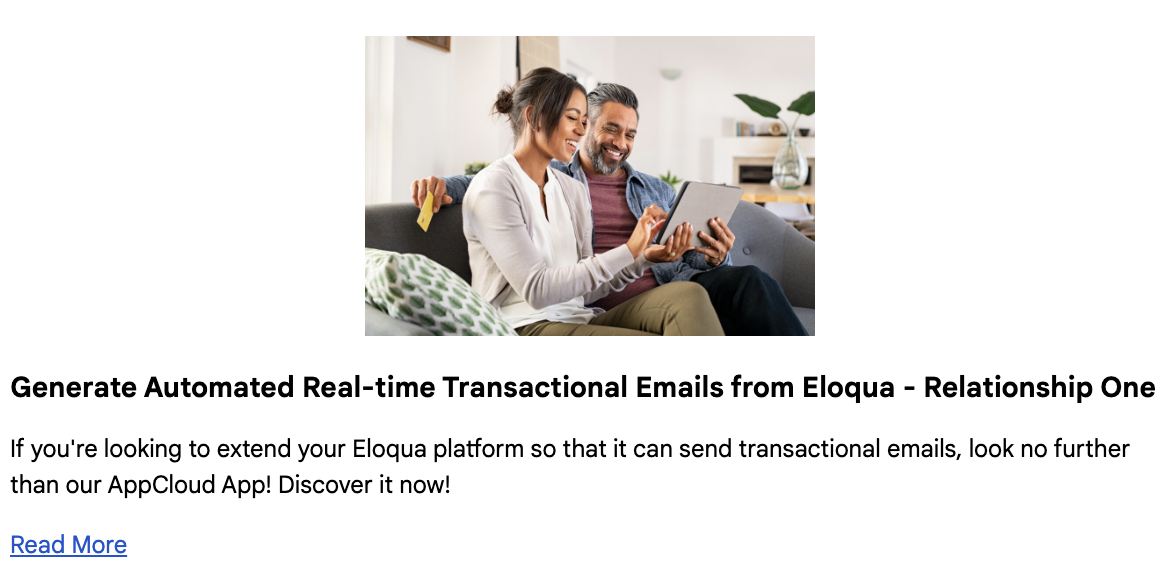
Easily add relevant content from outside sources like news articles, your own blog posts, or nearly any web page to your emails. Simply enter the URL and the Content Clipper automatically inserts the page title, description, image, and link to the original page. Then, you can easily adjust any of the text, formatting, or styles to perfectly match your email and brand.
App Installation
To install the Relationship One Content Clipper app:
- Click on the install URL below:
https://login.eloqua.com/Apps/Cloud/Admin/Catalog/Add/49abeb9f-2cf4-4424-9c77-7cbd1893dd80/2D-08-62-95-74-1F-9F-F1-E2-D2-96-D2-64-46-86-B3
IP WhitelistingIf you have Eloqua IP allowlisting enabled, please add AppCloud IPs to your allowlist - 44.236.213.84 and 44.238.209.213.
Please note, the installation process must be done by a user with Eloqua Customer Administrator rights.
-
Log into Eloqua with your Eloqua Credentials, if required.
-
Click Accept and Install to add the app to your Eloqua instance.
-
Log into your Relationship One AppCloud account.
- Click Authenticate Me to grant permission for the app to communicate with Eloqua on your behalf.

- Click Done to complete the app installation.
The Relationship One Content Clipper app is now installed in the App Catalog inside of your Eloqua instance which can be found by clicking on Apps under the Settings menu in the Platform Extensions section. You can select the app to view the app description, modify the configuration settings, reinstall, or uninstall it. You can also check its status and dependencies.
App Configuration
Step 1: Add the Cloud Content to Your Email
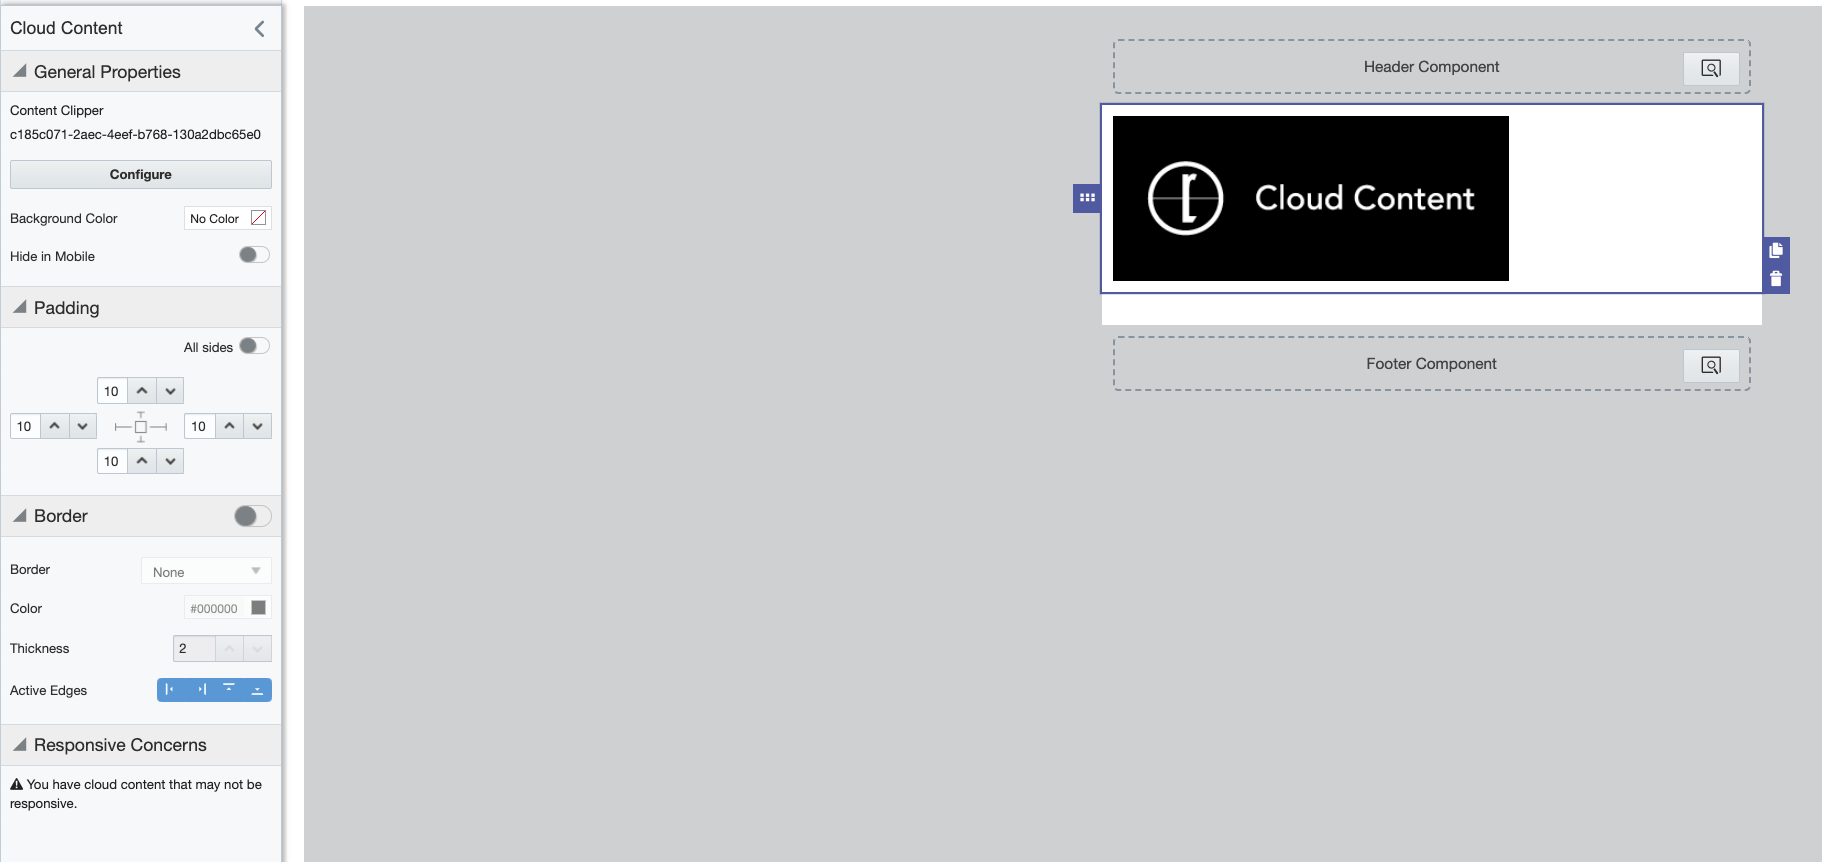
Open the Eloqua email on which you wish to place content. Note: The email must be saved prior to configuring your Content Clipper Cloud Content. Within the Eloqua email editor, drag the Cloud Content design component onto your email asset. Click Browse and select the Content Clipper app.
Click the Configure button to configure your Cloud Content settings.
Step 2: Configure Cloud Content Settings
Optionally, use the toggle to enable Eloqua's dynamic link tracking.
Eloqua TrackingThe Eloqua Tracking feature can be used for landing pages without Eloqua tracking script installed and the 'Actual URL' provided by Eloqua for Eloqua-hosted files. It is not recommended to use the feature for landing pages with Eloqua tracking script installed or Eloqua-hosted files' 'Tracked URLs'. For more information, see Eloqua's documentation (the green 'Notes' section near the bottom).
Then, enter the full URL (starting with https://) of the webpage you wish you to use to build your content and press Preview.

The title, description, and main image from the webpage will be automatically inserted into the editor below. Optionally, you can then edit anything you wish about the content - the text copy, font styles, or image alignment or sizing.

When finished editing, scroll to the bottom of the editor and click Save. To test how your Cloud Content displays, first save your email to capture your latest changes and then use the built-in Eloqua test email functionality to send yourself a test, inclusive of Cloud Content.
Updated over 1 year ago