
Event Campaign Builder for Salesforce.com
Oracle Marketing Cloud - Eloqua
Campaign Enhancer
Subscription RequiredThe Event Campaign Builder for Salesforce.com app is a premium app and requires a subscription. To see subscription options or to start a trial, visit our AppCloud. If you don't have an AppCloud account, you'll need to create one first...but no worries, this app may require a subscription but you can create an AppCloud account for free!
App Overview
The Event Campaign Builder for Salesforce.com app allows users to auto-generate and activate an Eloqua campaign based on a user-selected Event Type and Salesforce.com record settings so that they do not need to manually create campaigns.
If you manage events within your Salesforce.com system, this is a great app. You can map:
- Salesforce.com event types to Eloqua campaign templates
- Set up default and optional notifications
- Preview event details
If you use the Event Campaign Builder for Salesforce.com in conjunction with the Cloud Decision for Salesforce.com and Cloud Content for Salesforce.com, the app will automatically update your Decision and Content settings.
The app supports both Salesforce.com production and sandbox instances.
Salesforce.com PrerequisitesThis app is designed to auto-generate Eloqua campaigns and associated assets using data contained within a Salesforce.com events object. At a minimum, the events object should include the following fields:
- Event ID
- Event Name
- Event Start Date
- Event Type
- Marketer/Owner Email Address
App Installation
To install the Relationship One Event Campaign Builder for Salesforce.com app:
- Click on the install URL below:
IP AllowlistingIf you have Eloqua IP allowlisting enabled, please add AppCloud IPs to your allowlist - 44.236.213.84 and 44.238.209.213.
Please note, the installation process must be done by a user with Eloqua Customer Administrator rights.
-
Log into Eloqua with your Eloqua Credentials, if required.
-
Click Accept and Install to add the app to your Eloqua instance.
-
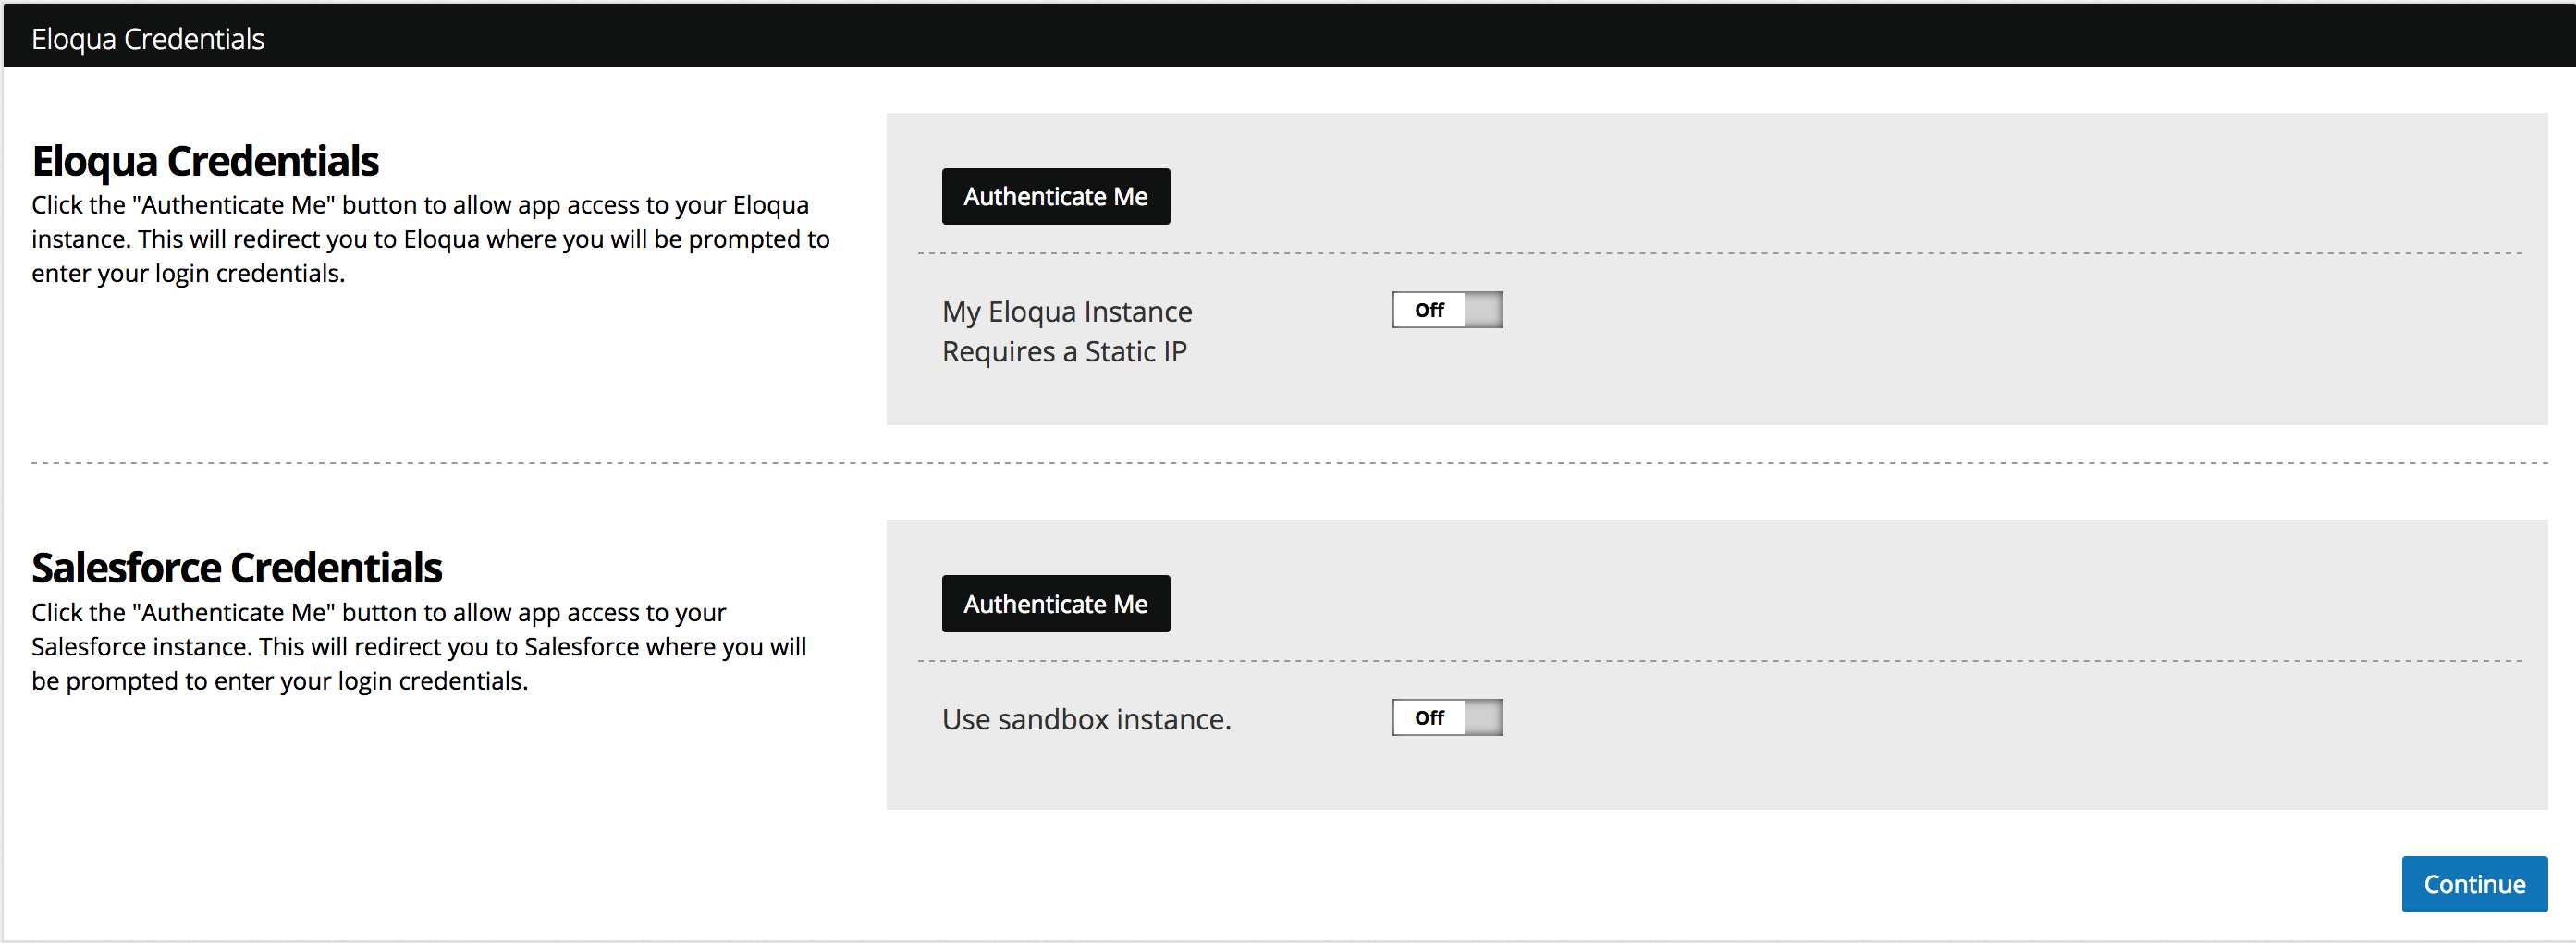
For your Eloqua credentials, click Authenticate Me to grant permission for the app to communicate with Eloqua on your behalf.
-
Click Accept or switch users to allow Eloqua to access the app.
-
For your Salesforce.com credentials, click Authenticate Me to grant permission for the app to communicate with Salesforce.com. You can choose to connect to either a production or sandbox instance.
-
Provide your Salesforce.com credentials and click Log In. Click Accept to allow the app to connect to Salesforce.com. Click Continue.
-
Select the Salesforce.com objects that can be used by the app. You can add as many standard and custom objects. To remove an object from the list, click the x.
-
Click Continue.
-
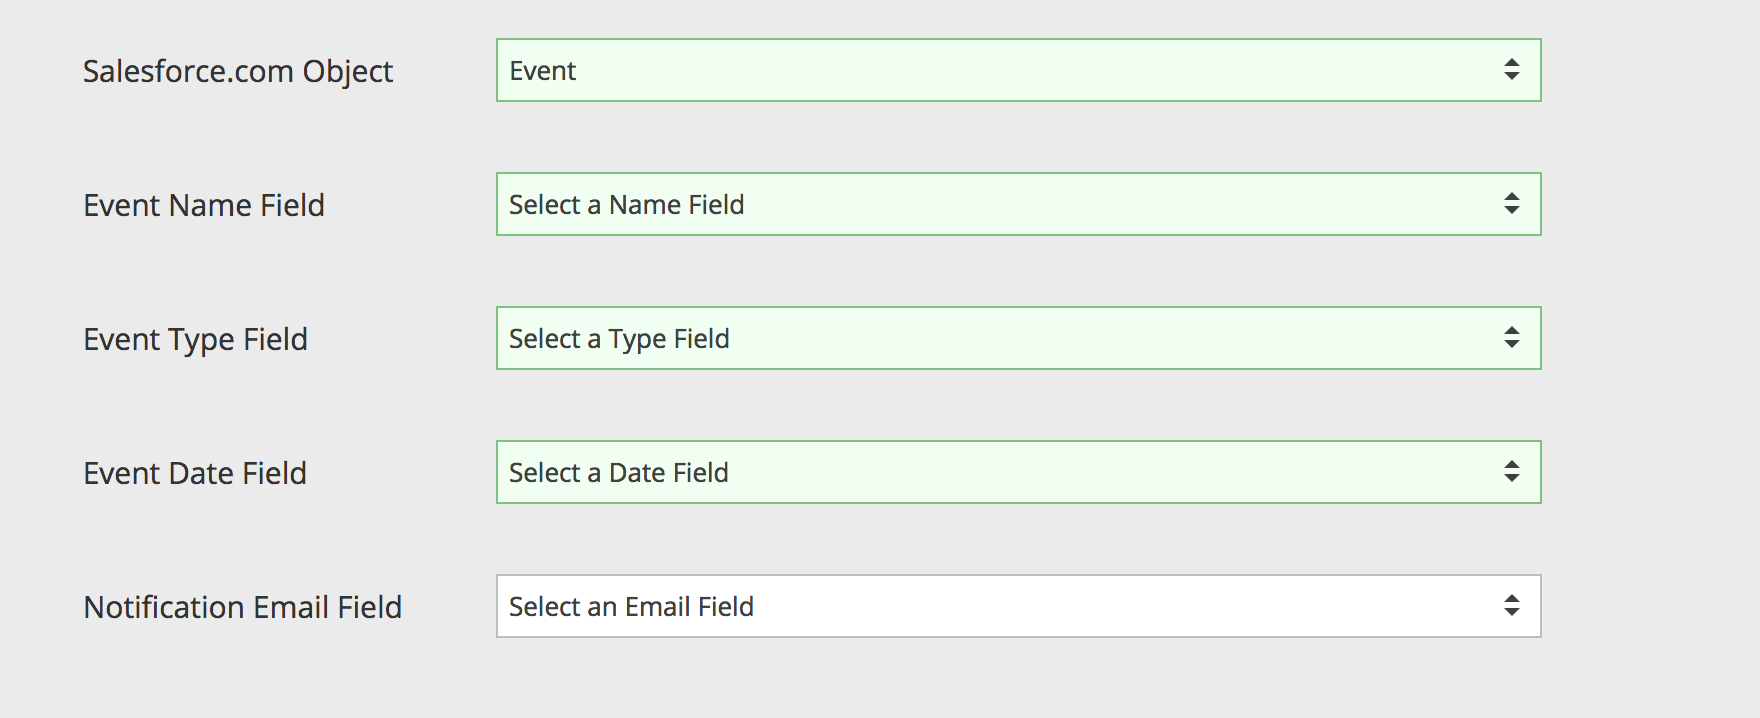
Select the Salesforce.com object that contains your event details.

- Specify the following event fields:
- Event Name - the field that contains the event name
- Event Type - the field that specifies the event type which will be used when mapping Eloqua campaigns to various event types (e.g., webinars, seminars, single session, multi-session, etc.)
- Event Date - the field that contains the event date
- Notification Email - the field that contains the email address of the event owner or coordinator
- Specify the fields to use when previewing event information by typing the field name to bring up a list of available fields and clicking on the desired field. This should at least be the event name and event date but could include any available fields.

- Lastly, click the Add button to add a new event type to be available in the app. Map the event type to the desired Eloqua Campaign that should be used as the campaign template. To remove an event type, click the trashcan () icon.

The Relationship One Event Campaign Builder for Salesforce.com app is now installed in the App Catalog inside of your Eloqua instance which can be found by clicking on Apps under the Settings menu in the Platform Extensions section. You can select the app to view the app description, modify the configuration settings, reinstall, or uninstall it. You can also check its status and dependencies.
App Configuration
To use the Event Campaign Builder for Salesforce.com app, within the "My Eloqua", "Campaigns" or Emails" areas, click on the cloud menu icon to open the menu tray.

Click on the Event Campaign Builder for Salesforce.com menu item to load the app.
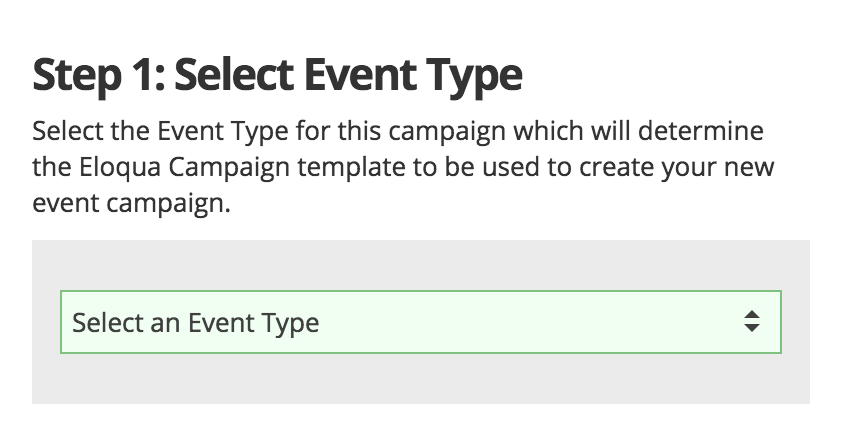
Step 1: Select Event Type
Select the desired Event Type from the list created when the app was installed. If you don't see your event type, contact your Eloqua administrator.
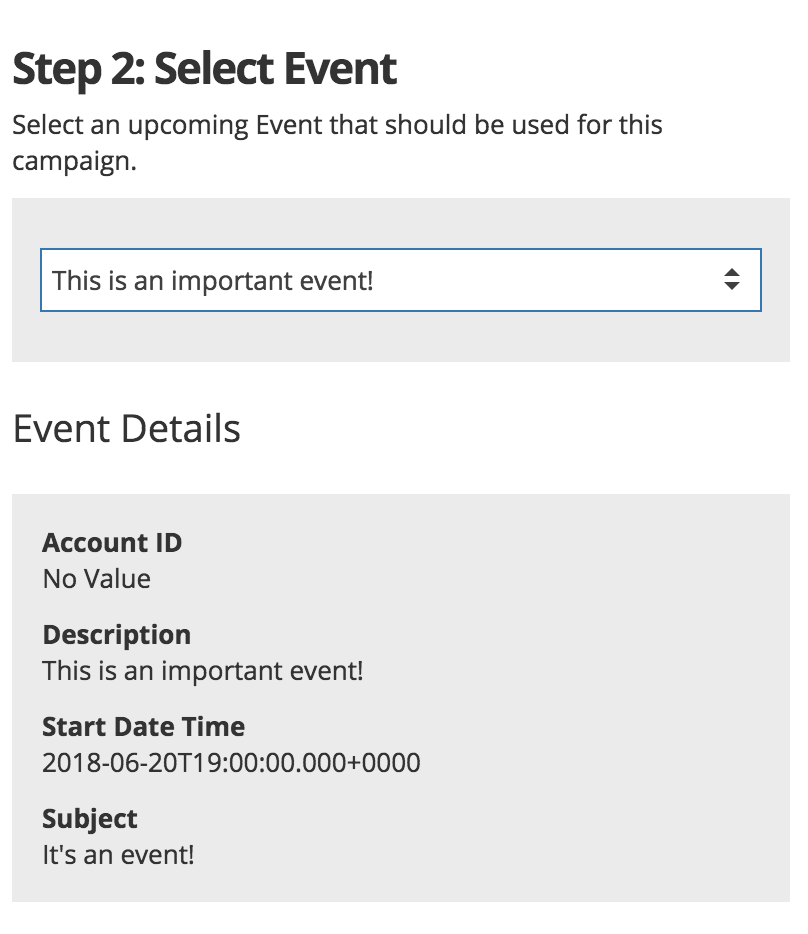
Step 2: Select Event
Select the desired event. Keep in mind, the list will only include events with a event date in the future. Once you select your event, review the event details information to confirm this is the correct event.
Step 3: Add Notifications
The app will automatically send an email notification, for either success or failure, to the notification email address that is specified within the event record in Salesforce.com. Optionally, you enter additional notification email addresses. Separate multiple email address with a comma.
Click Create Campaign to start the campaign builder process. The app will automatically create a new campaign and copy any email assets included in the template campaign. If your campaign includes the Cloud Decision for Salesforce.com and/or Cloud Content for Salesforce.com with the email, the app will automatically update any decision criteria that references your Salesforce.com event record.
You and any other specified recipients will be notified once your new campaign has been created.
Updated over 1 year ago