
Eloqua Form Submitter
Oracle Marketing Cloud - Eloqua
Campaign Enhancer
App Overview
Generate an Eloqua form submission using Eloqua Contact, linked Account or static value information. If storing submission data within a Custom Data Object, this app allows you to append a unique submission identifier.
App Installation
To install the Relationship One Eloqua Form Submitter Cloud Action:
- Click on the install URL below:
IP AllowlistingIf you have Eloqua IP allowlisting enabled, please add AppCloud IPs to your allowlist - 44.236.213.84 and 44.238.209.213.
Please note, the installation process must be done by a user with Eloqua Customer Administrator rights.
-
Log into Eloqua with your Eloqua Credentials, if required.
-
Click Accept and Install to add the app to your Eloqua instance.
-
Click Authenticate Me to grant permission for the app to communicate with Eloqua on your behalf.

- Click Accept or switch users to allow Eloqua to access the app.
You will now see the Relationship One Eloqua Form Submitter app in the App Catalog inside of your Eloqua instance.
The Relationship One Eloqua Form Submitter app is now installed in the App Catalog inside of your Eloqua instance which can be found by clicking on Apps under the Settings menu in the Platform Extensions section. You can select the app to view the app description, modify the configuration settings, reinstall, or uninstall it. You can also check its status and dependencies.
App Configuration
Step 1: Add the Cloud Action
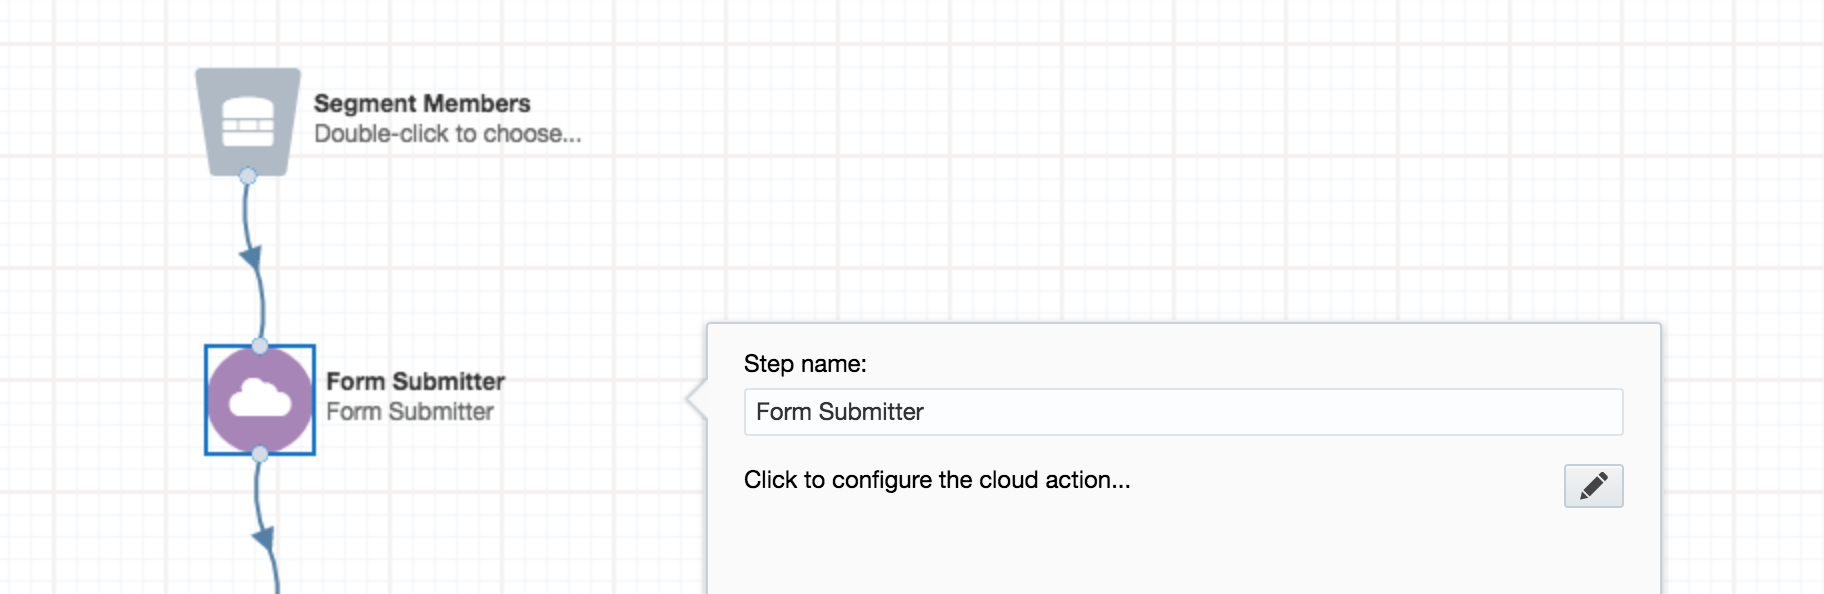
Within the Eloqua Campaign Canvas or Program Canvas, find the Form Submitter Cloud Action in the Actions menu area. Double-click on or drag the Eloqua Form Submitter Cloud Action onto your canvas workspace.
Double click on the cloud action and click the configure button.
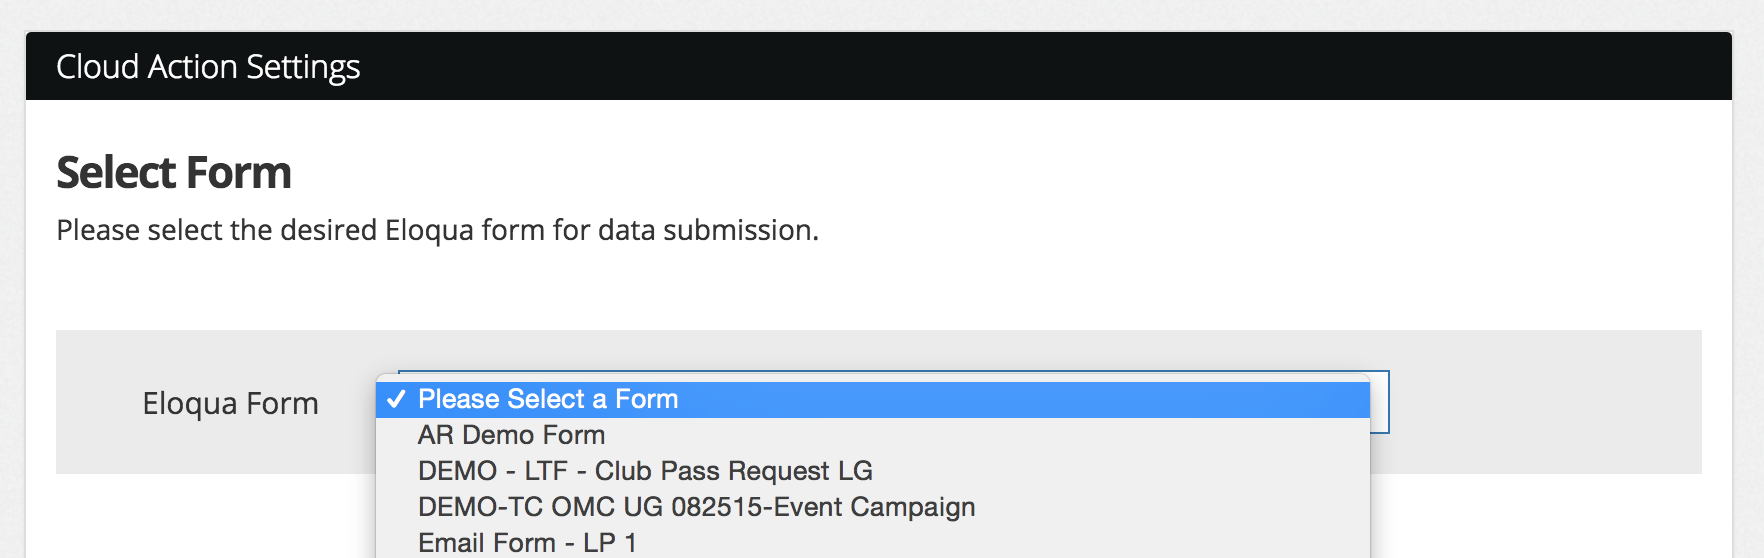
Step 2: Select Form for Submission
Choose the Eloqua form you want the app to submit by scrolling through the list provided. Note: You must create your form first before configuring.
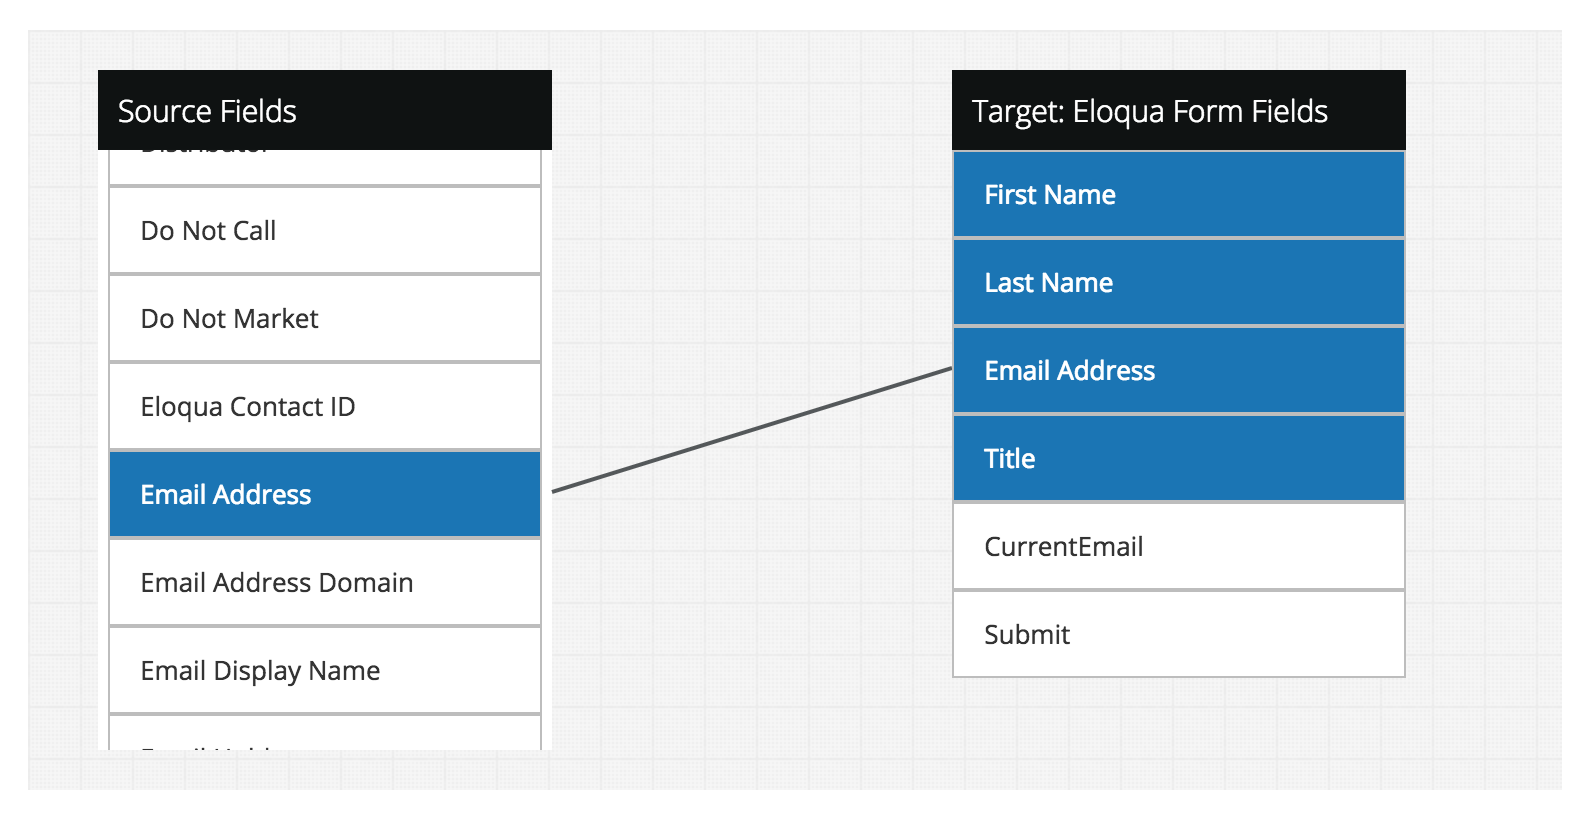
Step 3: Determine Field Mapping
To map your source Eloqua Contact, Account or static fields to the target Form fields, simply drag the desired source field to its target field. Remove a mapping by dragging a mapped target field to the left. Optionally, a unique submission identifier can be generated and mapped to a form field.

Expand or collapse a field list (Account, Contact, for Static fields) by clicking on the toggle button shown. Then scroll to find the field to map.
After you map all of your fields, your box will look something like this:
Click Continue to complete your app configuration. The Cloud Action will automatically enable when you activate the Campaign or Program.
Updated over 1 year ago