Record Selection
Oracle Marketing Cloud - Eloqua Personalization Manager
The Personalization Manager Cloud Action gives you complete control to target the desired Contacts with personalized communications via Email, Landing Pages, or SFTP export based on the criteria rules and grouping logic you set.
Tip - Create your related email or landing page asset firstTo enable email or landing page personalization channels, the email or landing page must exist as an asset in Eloqua in order for you to select it in the Cloud Action. If you intend to enable either of these channels, it is recommended to first create and save the email or landing page asset and give it a relevant filename before continuing to configure the Cloud Action.
App Configuration
Step 1: Add the Cloud Action
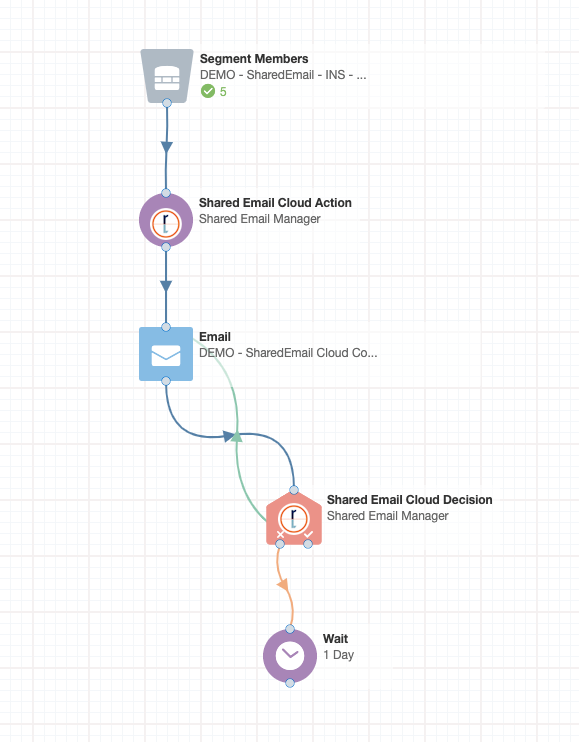
Within the Eloqua Campaign Canvas or Eloqua Program Canvas, find the Personalization Manager Cloud Action in the Actions menu area. Double-click on or drag the Personalization Manager Cloud Action onto your canvas workspace.

Step 2: Configure Action Settings
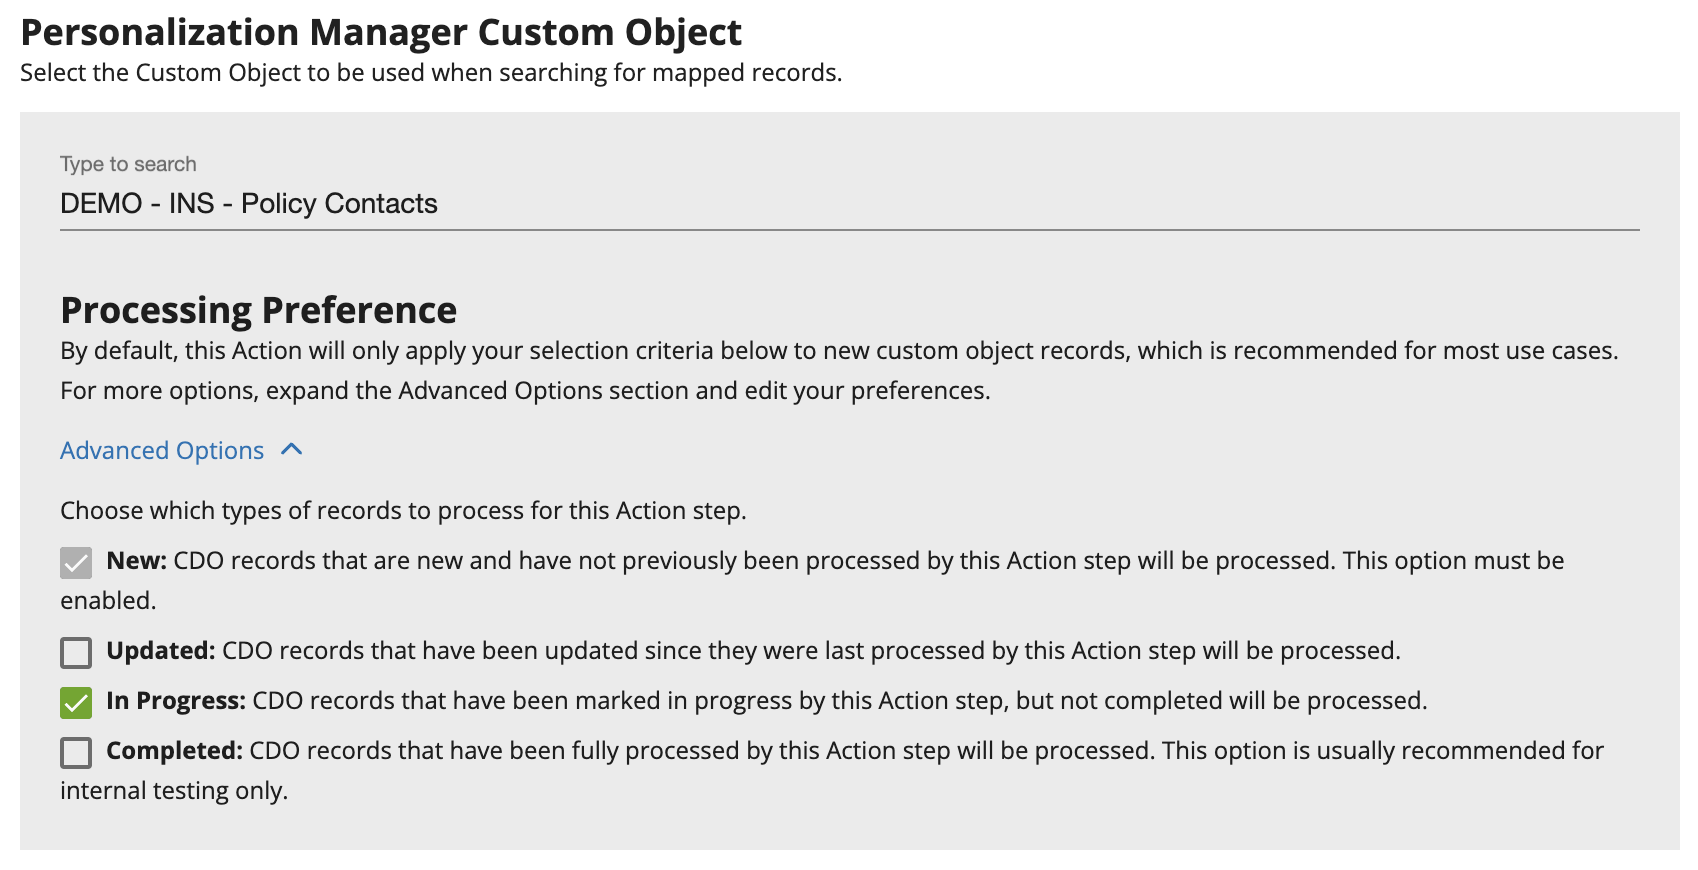
To begin the configuration of the app, double-click on the app step on the canvas. When you click on the configuration button (:fa-pencil:), a new frame will open with configuration settings. Select your desired Eloqua Custom Object that should be used for processing and personalization.
Processing Preference - The default selections are sufficient for most circumstances. However, the Advanced Options below are configurable to meet edge case needs for each campaign.
Next, choose your processing preference. By default, the app does not reprocess CDO records that have been previously processed by the same campaign. This allows contacts to be processed by the campaign on an ongoing basis without fear of resending duplicate data. However, you can alter this behavior if you wish as the app allows for multiple configurations for processing CDO records:
- New Records (Default, Required) - This option will ignore CDO records that have been previously processed by this Personalization Manager Action step. This allows campaigns to be configured to run the same contact through it multiple times and only include new CDO records without resending duplicate information from CDO records previously processed.
- Updated Records - This option will process CDO records that have been modified since the last time they were processed by the Action step. This setting is most commonly used if CDO records are updated after they've been created, rather than creating new records.
- In Progress Records (Default) - This option will process CDO records that have been previously marked in progress by this Action step, but not completed. This is an uncommon scenario and typically a result of a previous error.
- Completed Records - This options will process CDO records that have been previously fully processed by this Action step. This setting is most commonly used in testing circumstances and should be utilized with caution.
Please note: with any of these three setting configurations, a contact that enters the Personalization Manager Action step with no CDO records that match the selection criteria will error in the Action step.

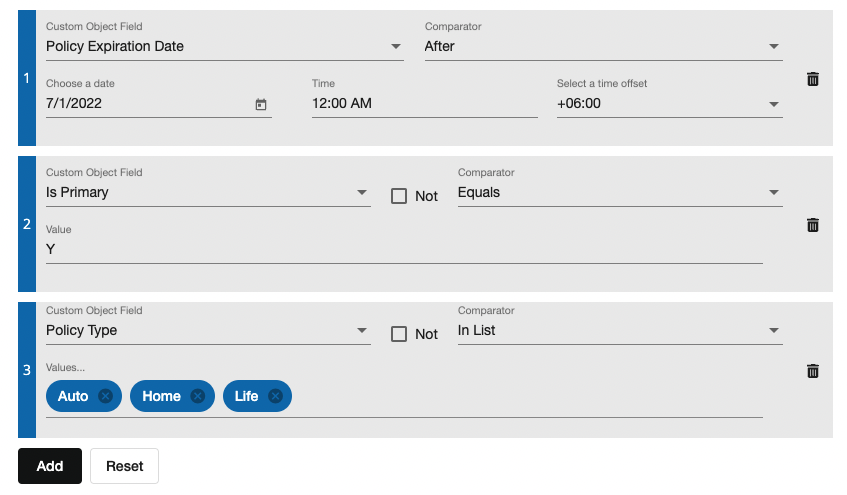
Next, set the desired selection criteria by choosing the custom object field, comparison logic, and match value to narrow down your record selection.

To add additional criteria, simply click the Add button. To remove a criteria, click the trashcan (:fa-trash:) icon. To completely remove your criteria rules and start over, click the Reset button.
Once you have your desired criteria, set your grouping logic. Use the Simple grouping logic to group your criteria rules using AND or OR logic.

Alternatively, use the Complex grouping to specify more advanced logic.

Optionally, if you would like to process Custom Object "Contacts" in a specific order, you can add one or more Custom Object fields in ascending or descending order. The processing order controls the order of:
- emails sent to the same email address
- roll-up custom object fields
- records in an SFTP file export
If no Processing Order is set, the records, by email address, will be processed from most recent to oldest based on Custom Object Last Modified Date. Drag the fields to change the order in which they should be applied. Click Continue.

Updated about 1 year ago
