
OCM - Project Importer
Oracle Marketing Cloud - Compendium
Subscription RequiredThe Oracle Content Marketing - Project Importer app is a premium app and requires a subscription. To see subscription options or to start a trial, visit our AppCloud. If you don't have an AppCloud account, you'll need to create one first...but no worries, this app may require a subscription but you can create an AppCloud account for free!
App Overview
With the Oracle Content Marketing - Project Importer app, bulk import Compendium projects. With the app, you can:
- Use the Helper Tools to quickly inventory your Oracle Content Marketing (OCM) instance
- Bulk create or update OCM projects
Create or Update Projects
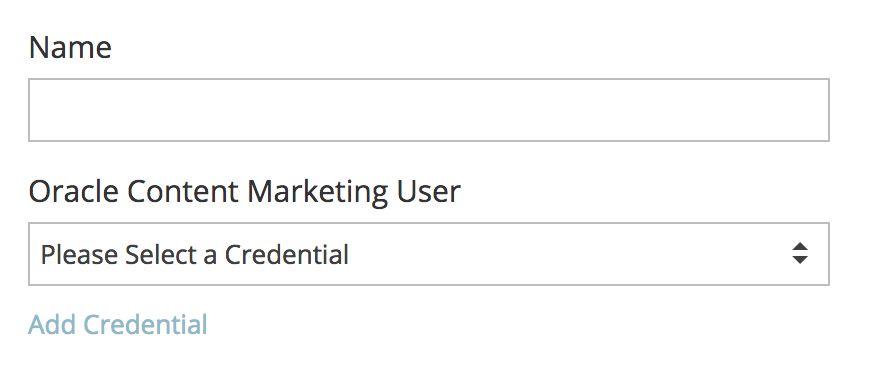
To create new or update existing OCM projects, click New Import. Give your import a name or description and select your OCM credentials. If you haven't added a credential, you can click "Add Credential".
Click or drag your import file onto the dropzone area. you will see a preview of your file. Your file must be a CSV or TXT format, comma delimited, and contain a header row.

Click Continue.
To map fields of your import file to create/update Oracle Content Marketing (OCM) users, simply click the +Add Field button to add a new field to be imported from the import file and map it to the desired OCM field. If you map the Oracle Content Marketing User ID field and there is a value, the existing user will be updated. If there is no value, a new user will be created. To remove a field, simply click the trashcan () icon.
To create a new project, at a minimum, you must include the project name field in your mapping. Available import fields include:
- All Business Units - allowed values are True and False (case insensitive)
- Business Unit IDs - one or more business unit IDs are allowed and should be entered comma separated
- Color - hex ID for the desired project color
- Description - a description of the project
- Start Date - project start date with YYYY-MM-DD HH:MM:SS TZD (for example 2018-01-01 00:00:00 +00:00)
- End Date - project end date with YYYY-MM-DD HH:MM:SS TZD (for example 2018-01-01 00:00:00 +00:00)
- Name - project name
- ID - project ID
- Parent ID - project's Parent ID (if applicable)
- Show On Calendar - allowed values are True and False (case insensitive)
Click Continue.
Optionally, you can receive an email notification for a successful import or if the import fails. Click Continue.
Once you have reviewed your export settings, click Import File to execute your export.
Updated over 1 year ago