
Interaction History
Oracle Marketing Cloud - Eloqua
Channel App
App Overview
The Hootsuite Interaction History app lets you retrieve and import interactions between two users of a particular social network type, such as direct messages, comments, and posts, into an Eloqua Custom Object. If you have enabled social hydration for Twitter and/or Facebook (coming soon), you can import even more social contact information.
Step 1: Create an Eloqua Custom Object
Before you configure the Interaction History app, you will need to create an Eloqua Custom Object that will be used to store interaction data. The Custom Object should include the following fields:
- Interaction Type
- To User Screen Name
- From User Screen Name
- To User Name
- From User Name
- Social Network Type
- To Social Network ID
- From Social Network ID
- External Message ID
Step 2: Setup Interaction History Data Mapping
Prerquisite: Lead Sync App Must Be ConfiguredThe Interaction History app requires the Hootsuite Lead Sync app to be set up and configured within your Hootsuite and Eloqua instances. Interaction Activity will only be imported for Hootsuite Social Leads.
To launch the Hootsuite Interaction History app, navigate to the My Eloqua area within Eloqua. Click on the Cloud Apps menu and click on the Hootsuite Interaction History app.

This will open the Hootsuite Interaction History settings in a new browser tab (note: if your browser blocks pop-ups, please be sure to allow this pop-up). Select your newly created Eloqua Custom Object that should be used for storing interaction data.

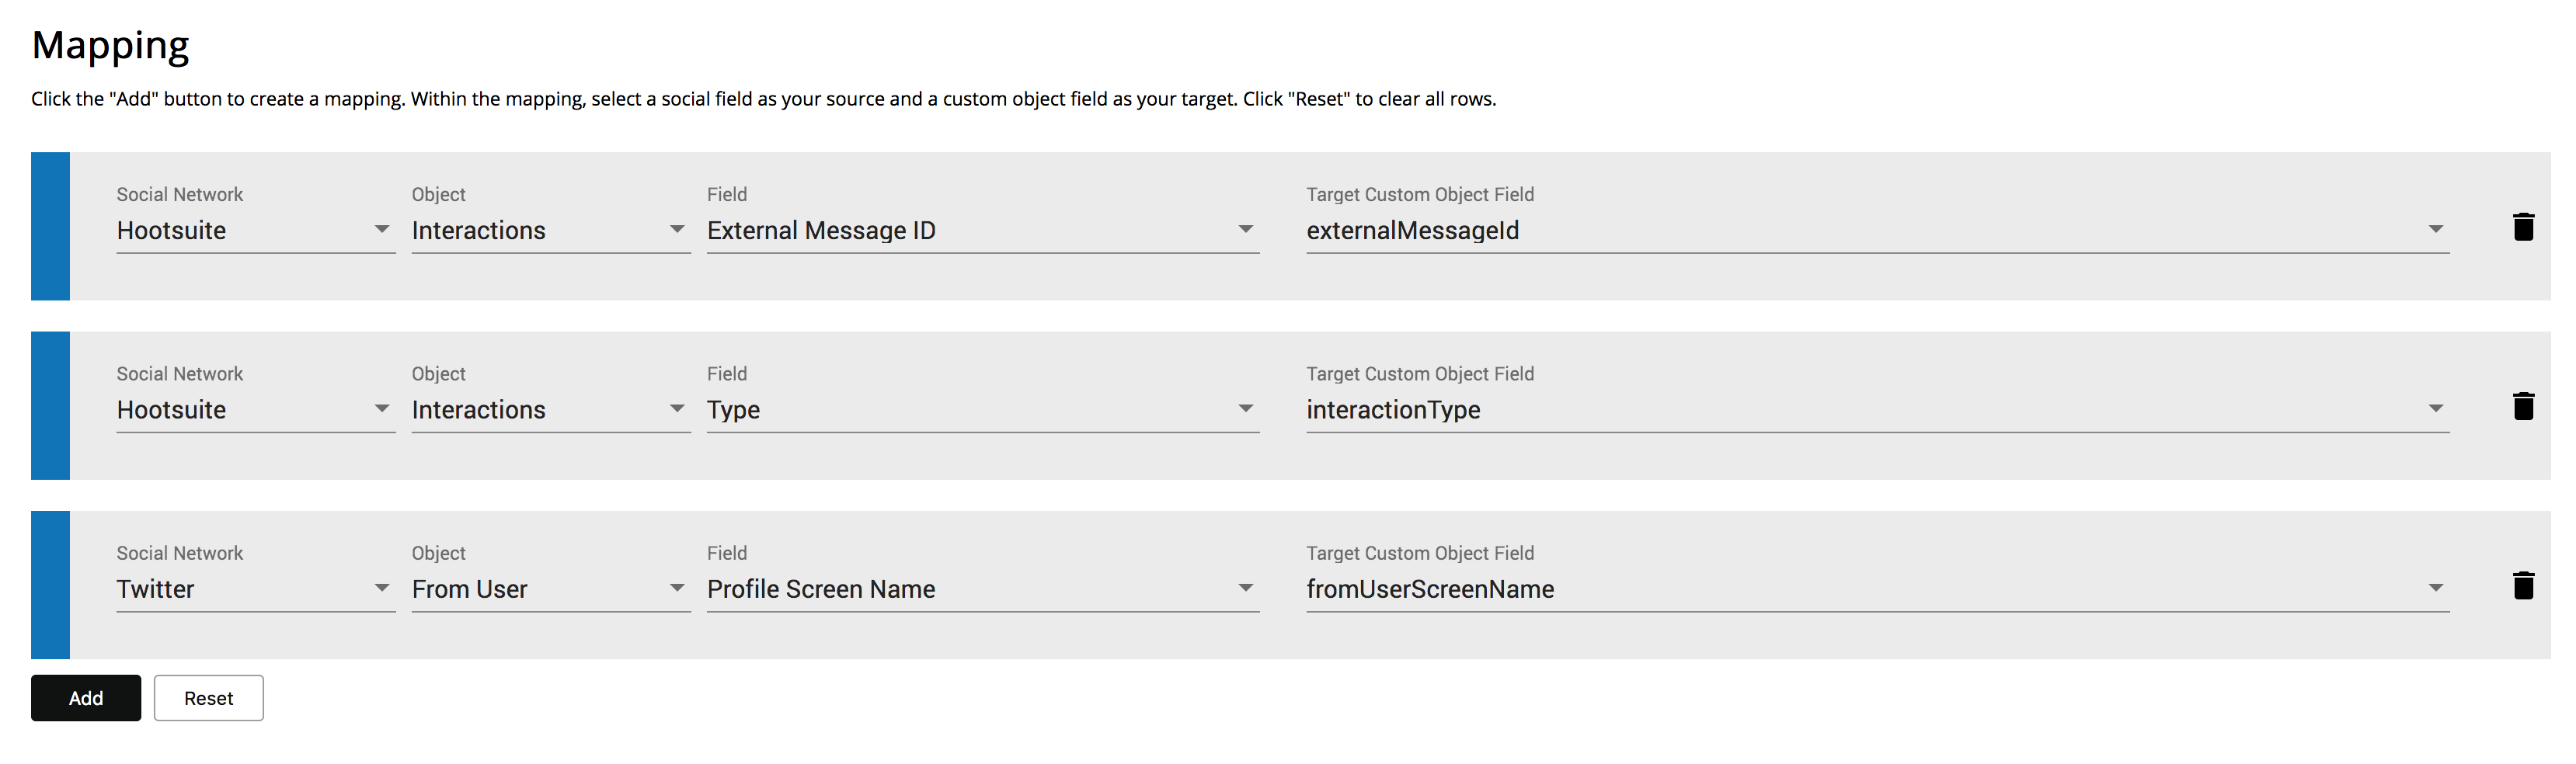
Next, in the Mapping section click the Add button to create a new mapping of Hootsuite or Twitter data to the desired Custom Object field. To remove a mapping, click the trashcan icon ().
You will then need to specify your Hootsuite Lead Sync Eloqua Custom Object that contains your social leads records, the field that contains the Social Profile ID and the Network Type field.
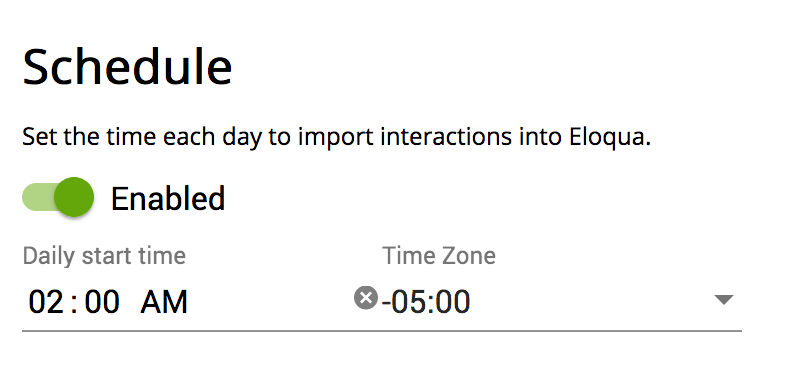
Lastly, to import Interaction History data once every 24-hours, enable the scheduled import and specify the desired import time and time zone.
Click the Save button to save your configuration settings and close the browser tab.